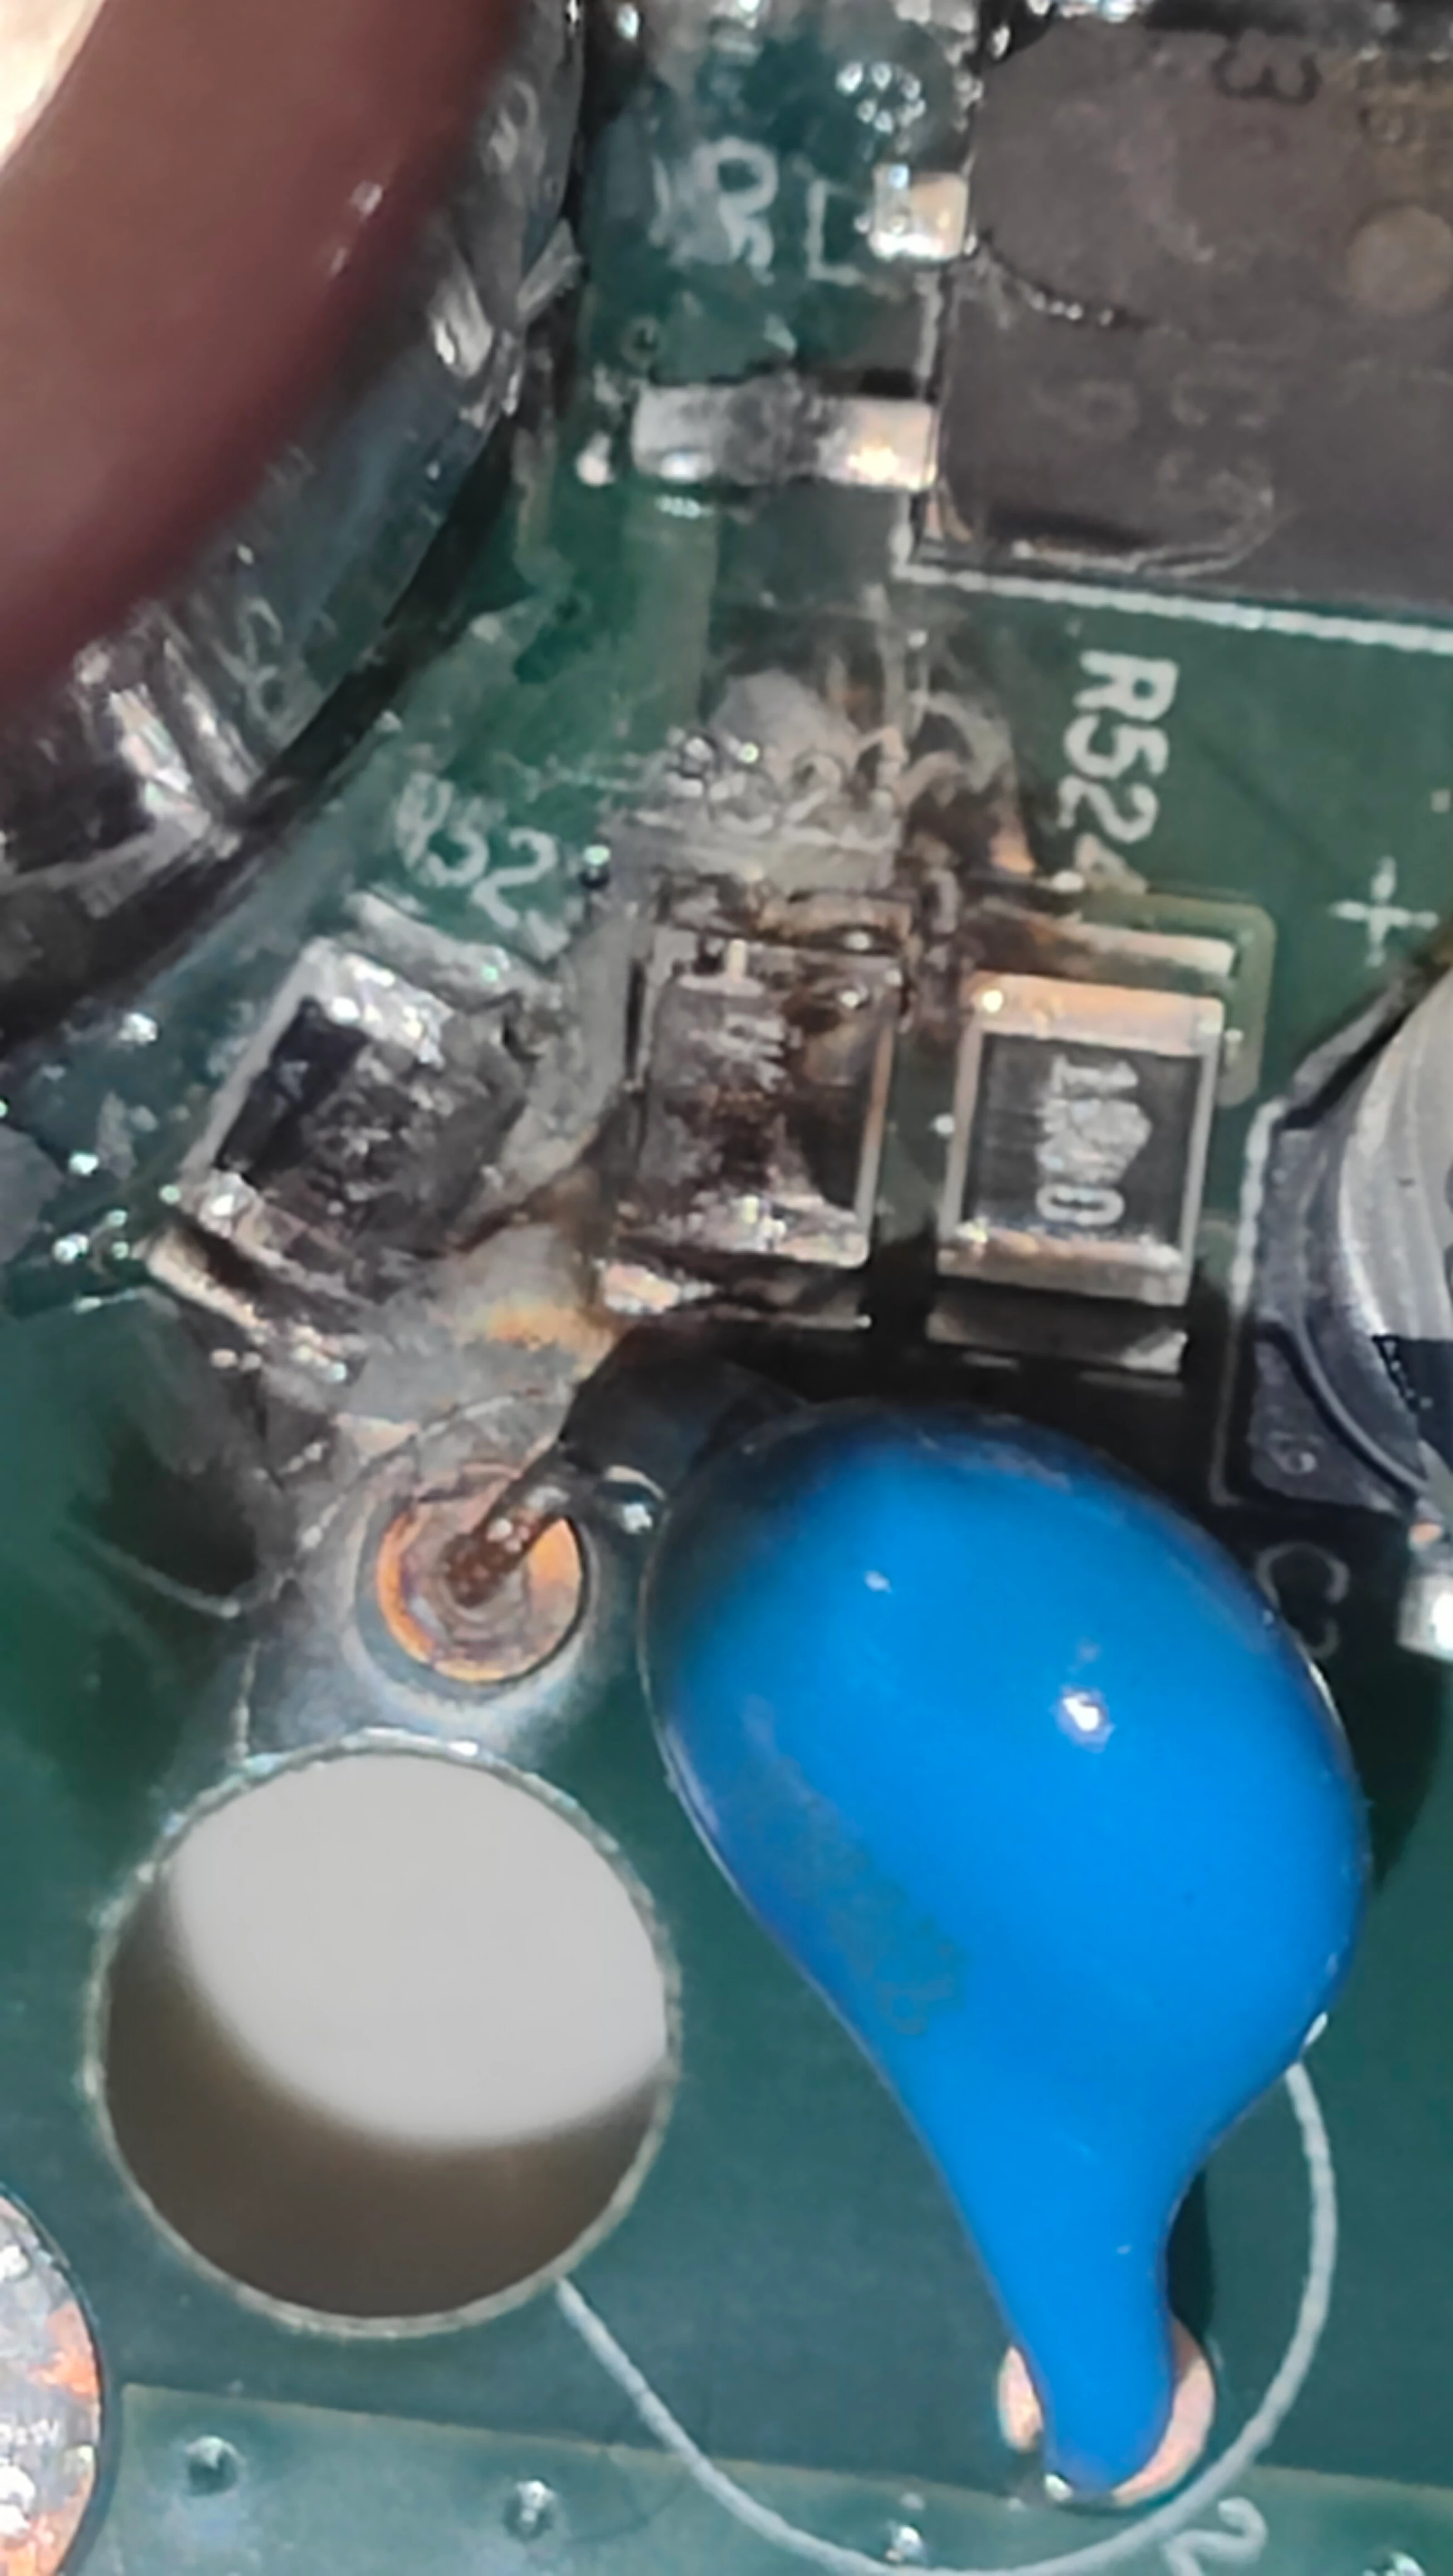
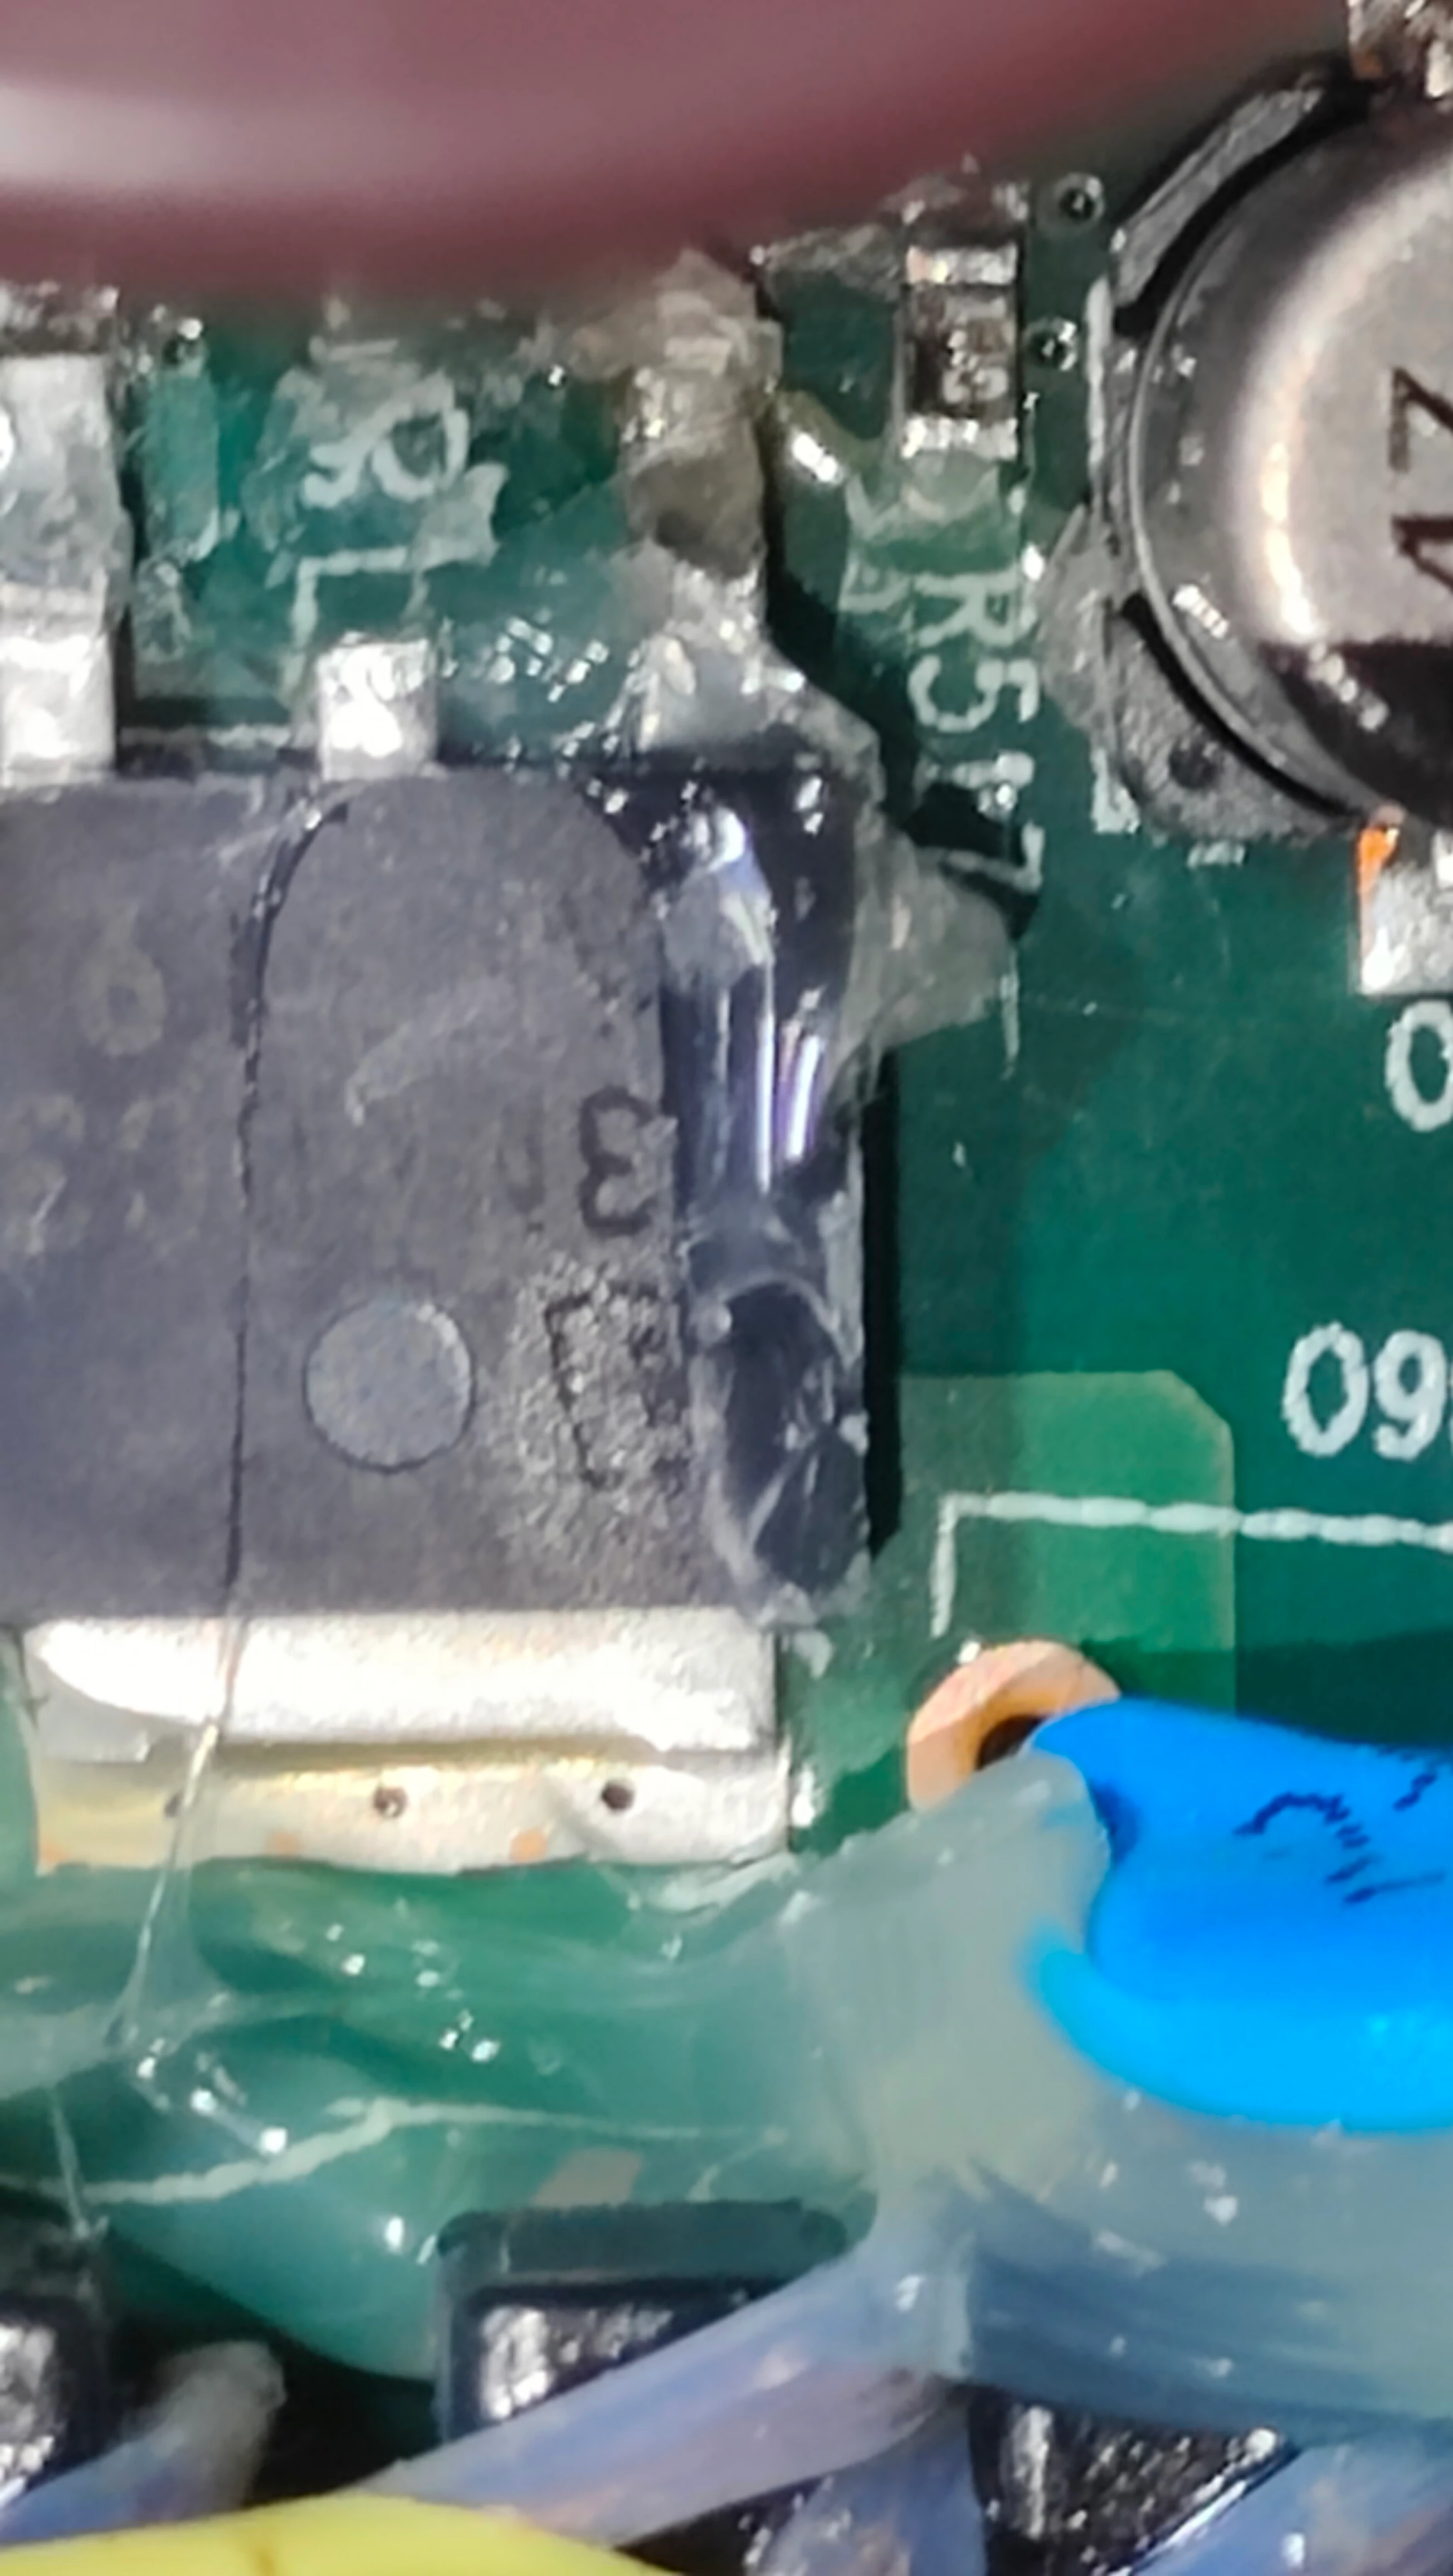
My Sonos Play 1 has done the same as many others before and blown part of it’s 240V step-down circuitry so when powered via the mains the unit no longer works
The parts blown are the two 1 Ohm 1206 SMD resistors just up from the big brown capacitor on the power step-down part of the board as also happened to @Lazarov and @Helix66 in this thread

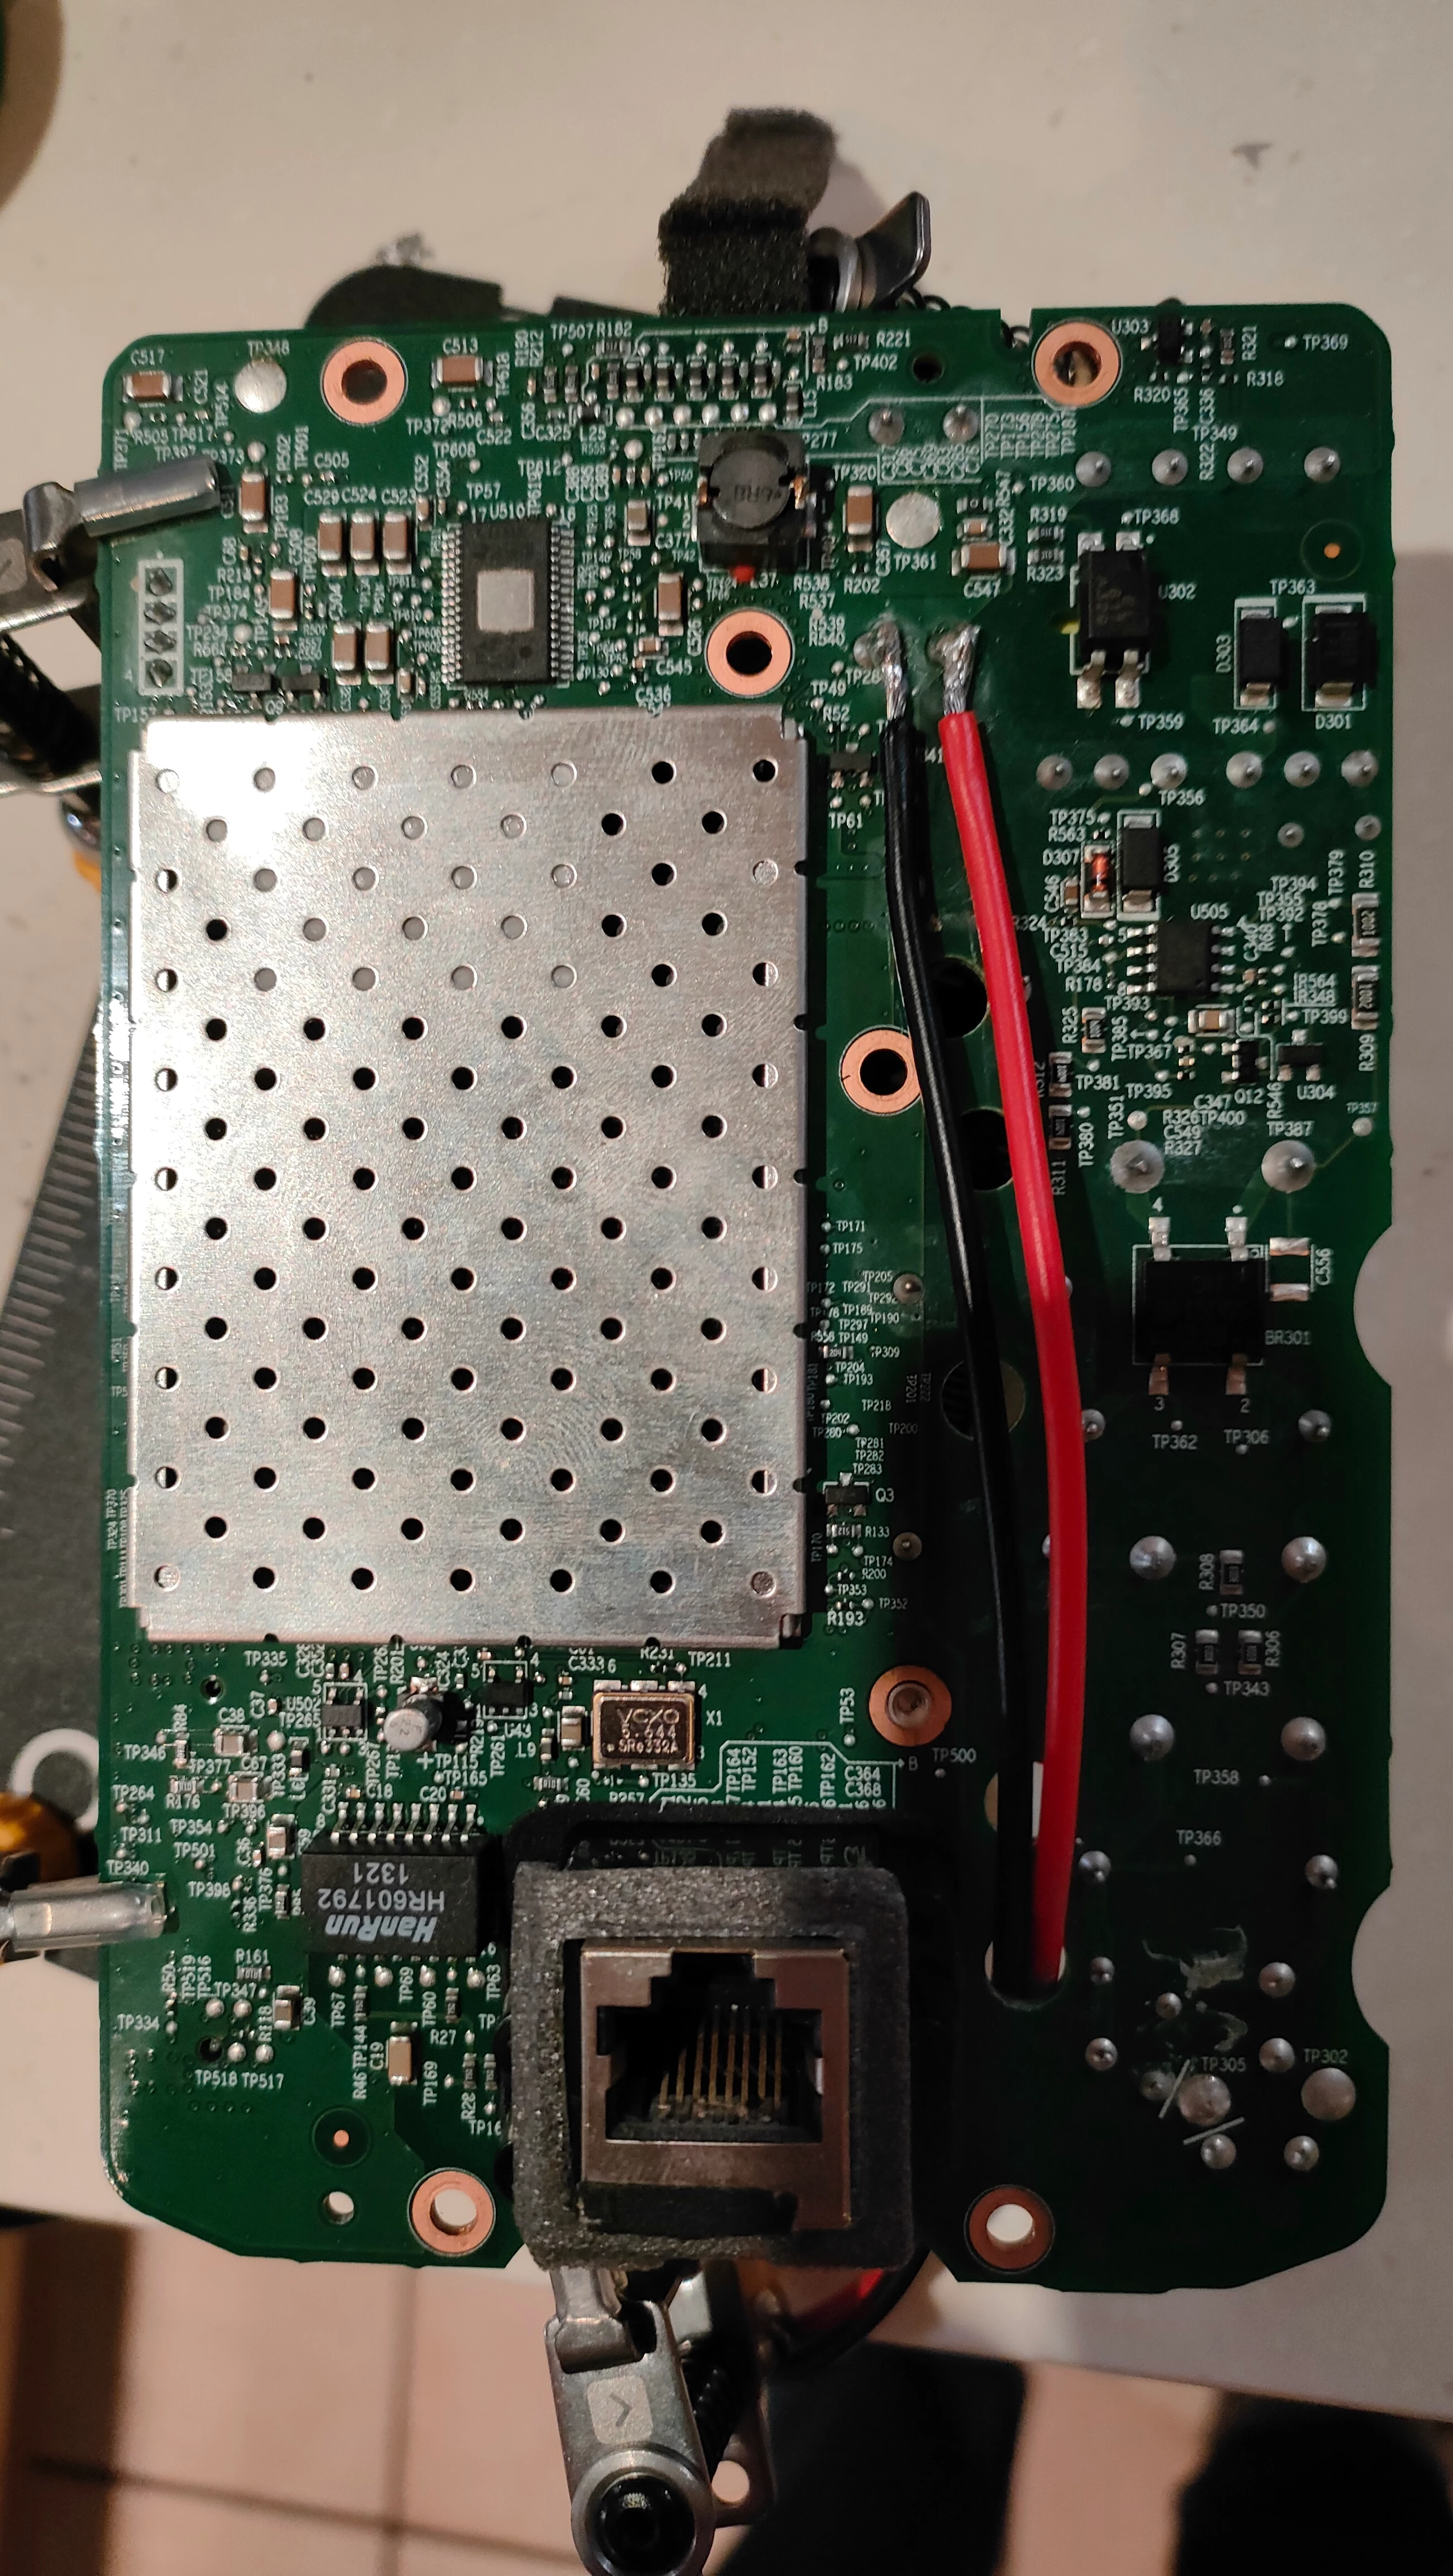
So I decided to go the route of @huntajon and wire in a 24V DC laptop power supply across one of the two tall capacitors, however when testing these for continuity, I am getting a short which then manifests itself in a buzzing unhappy power 24V laptop supply when I connect it
I’ve checked the polarity of the wires vs. the - stripe on the capacitor and this is all correct, so I wondered (a) whether something blown would be shorting the circuit and (b) what is the quickest and easiest way to disconnect all of that circuitry from where I am soldering, and just have the 24V circuit and low voltage parts of the board connected going forwards?
Photo of how the 24V DC laptop power supply is connected in and all advice much appreciated!