Do this at your own risk. You will no doubt void your warranty if you break something.
http://farm1.static.flickr.com/113/293505012_1b3a9ffc8a_d.jpg
Guide to Changing the CR100 Battery
This topic has been closed for further comments. You can use the search bar to find a similar topic, or create a new one by clicking Create Topic at the top of the page.
Page 3 / 3
Just spent a couple of hours at the weekend repairing my CR100. Basically it went flying, but only the front plate was coming away from the back casing. On opening I was able to superglue the 2 larger columns for the 2 longer screws back on, but the 4 screw mountings that hold the grey pcb/battery to the front plate were toast. So I rebuilt the columns with a few dabs of a hot glue gun, cut away any interference and then drilled some holes into them. All screwed back together and working. Result
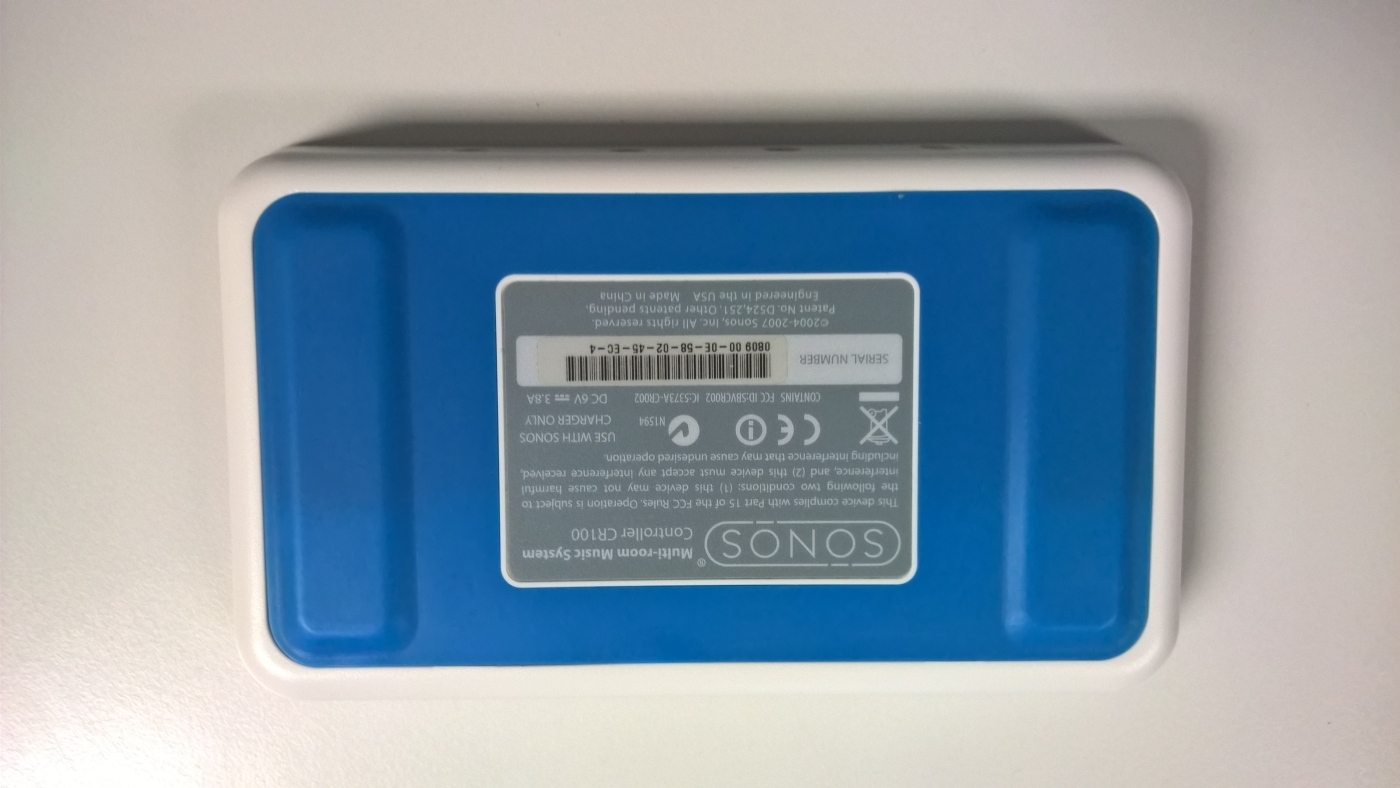
After 9 years I finally had the "CR100 Not Charging in cradle" issue, if I pressed the top of the screen it would light the charge light while in the Cradle, So I opened it up cleaned the contacts and bent up the spring connectors, added some foam behind the spring connectors and while it was open replaced the Battery, Very Easy, Just lifted the edges of the Blue backing to remove the 6 screws and it stuck down again very well.
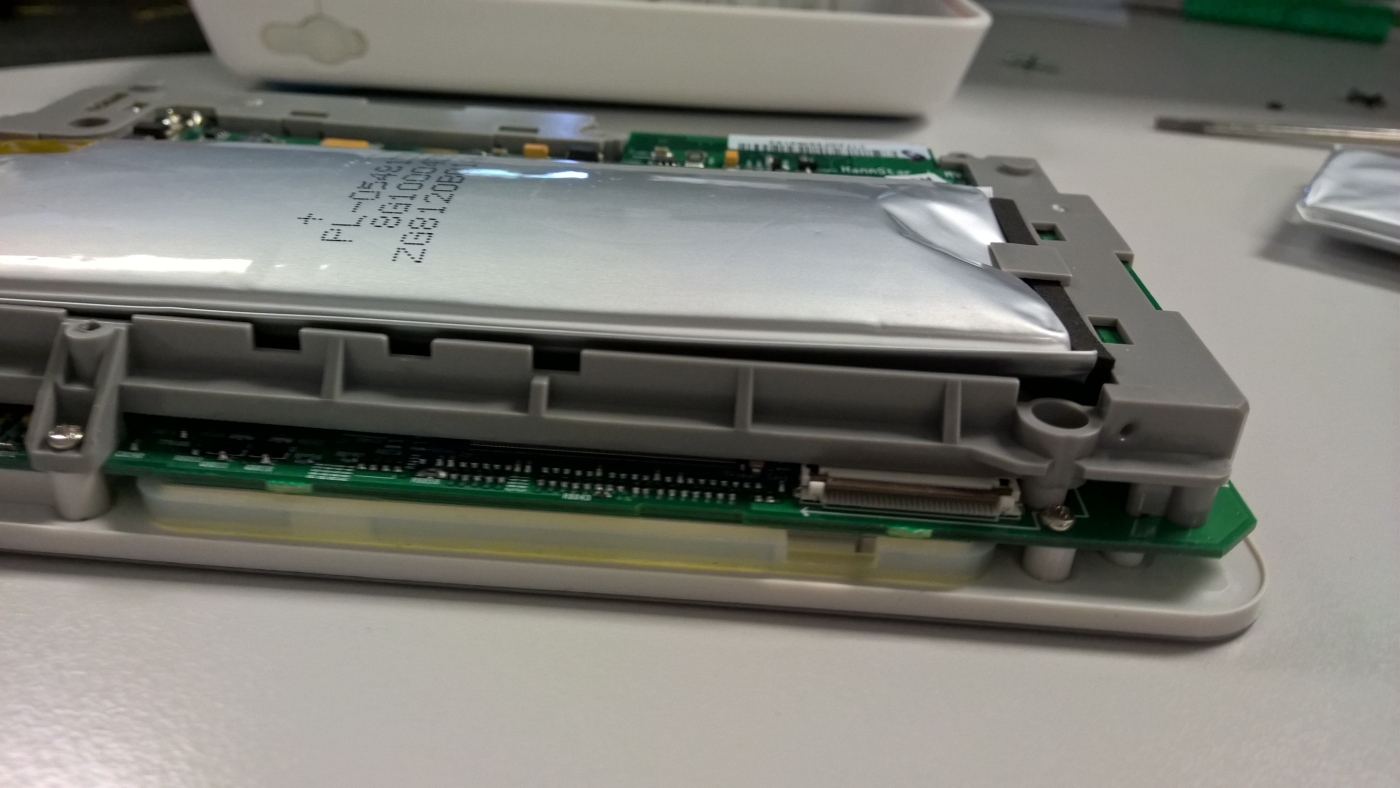
The 9 year old Battery was somewhat blown!
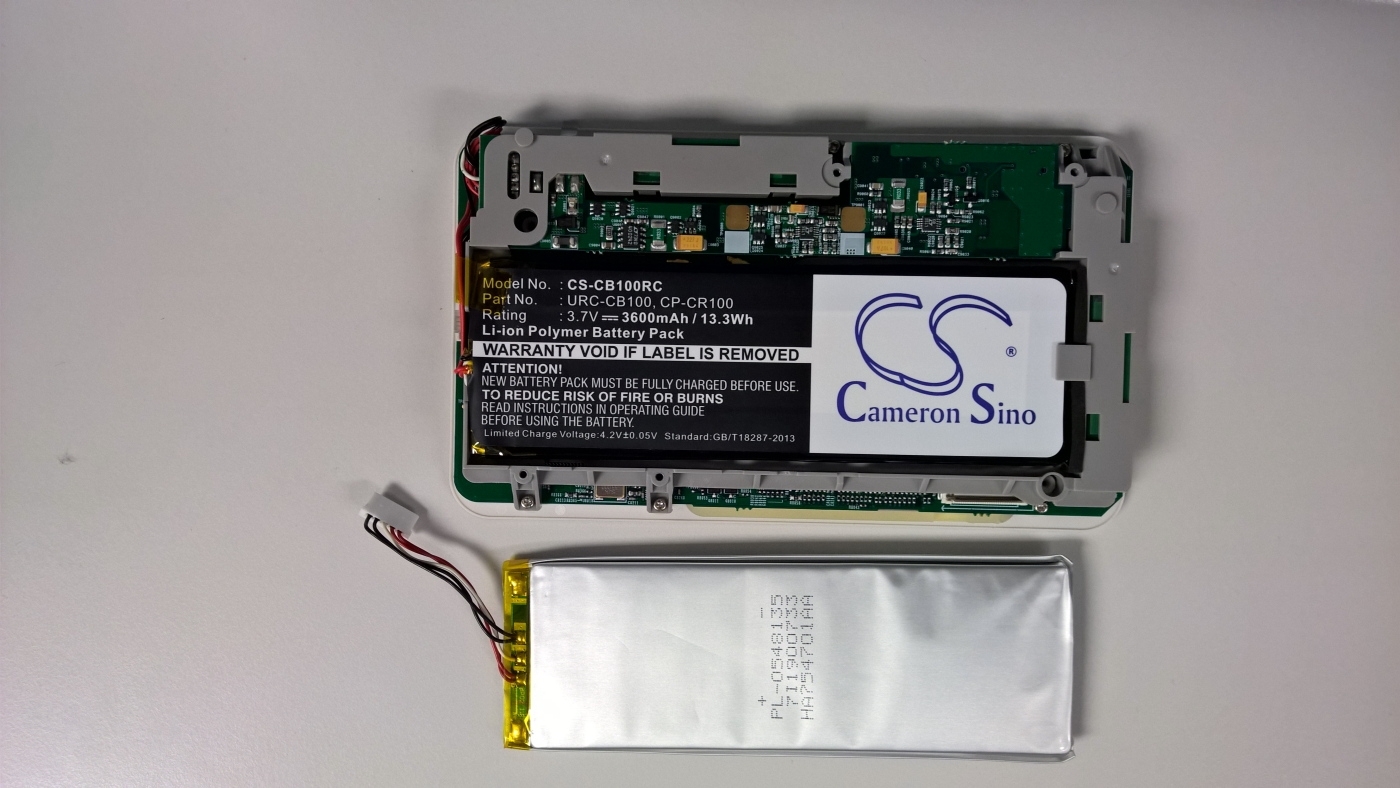
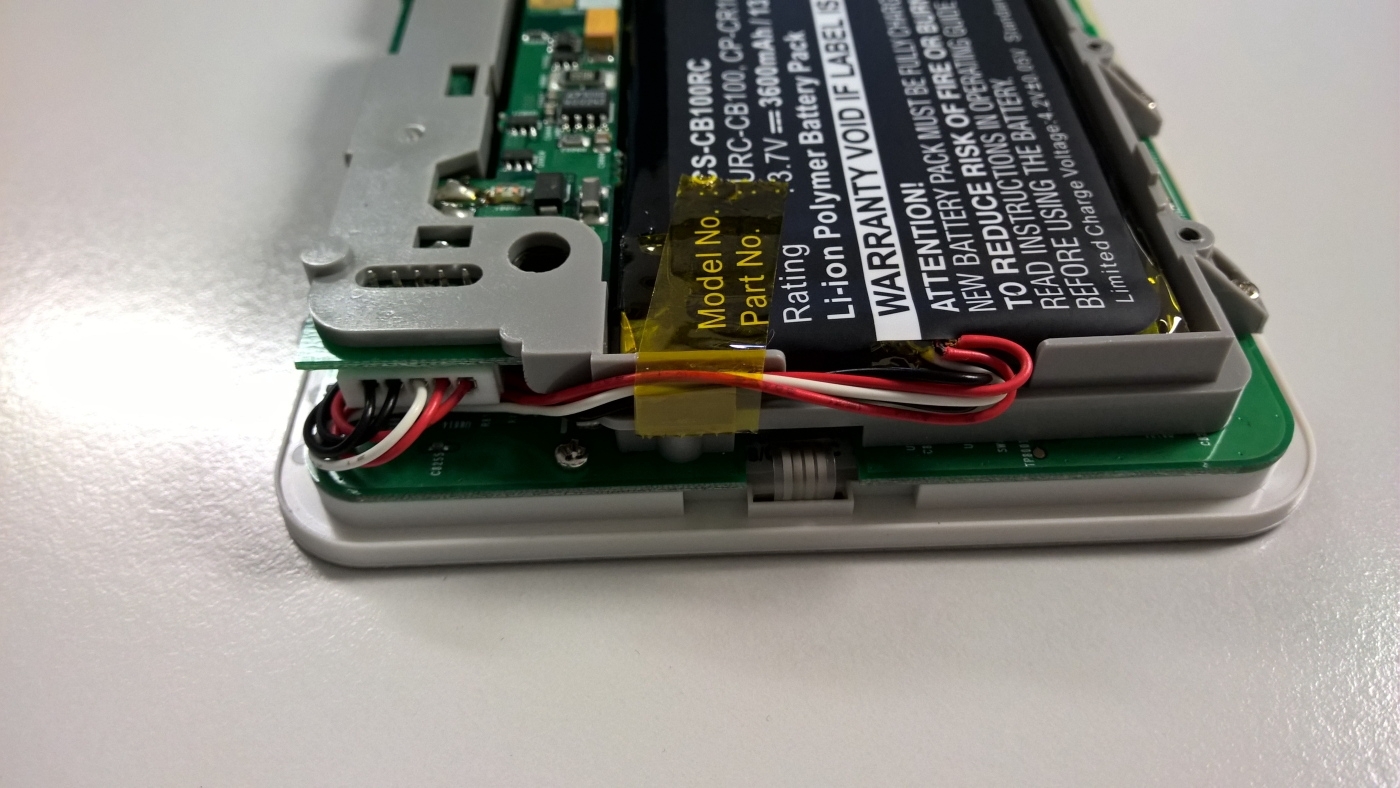
New Battery In Place
The lead is a bit longer on the replacement
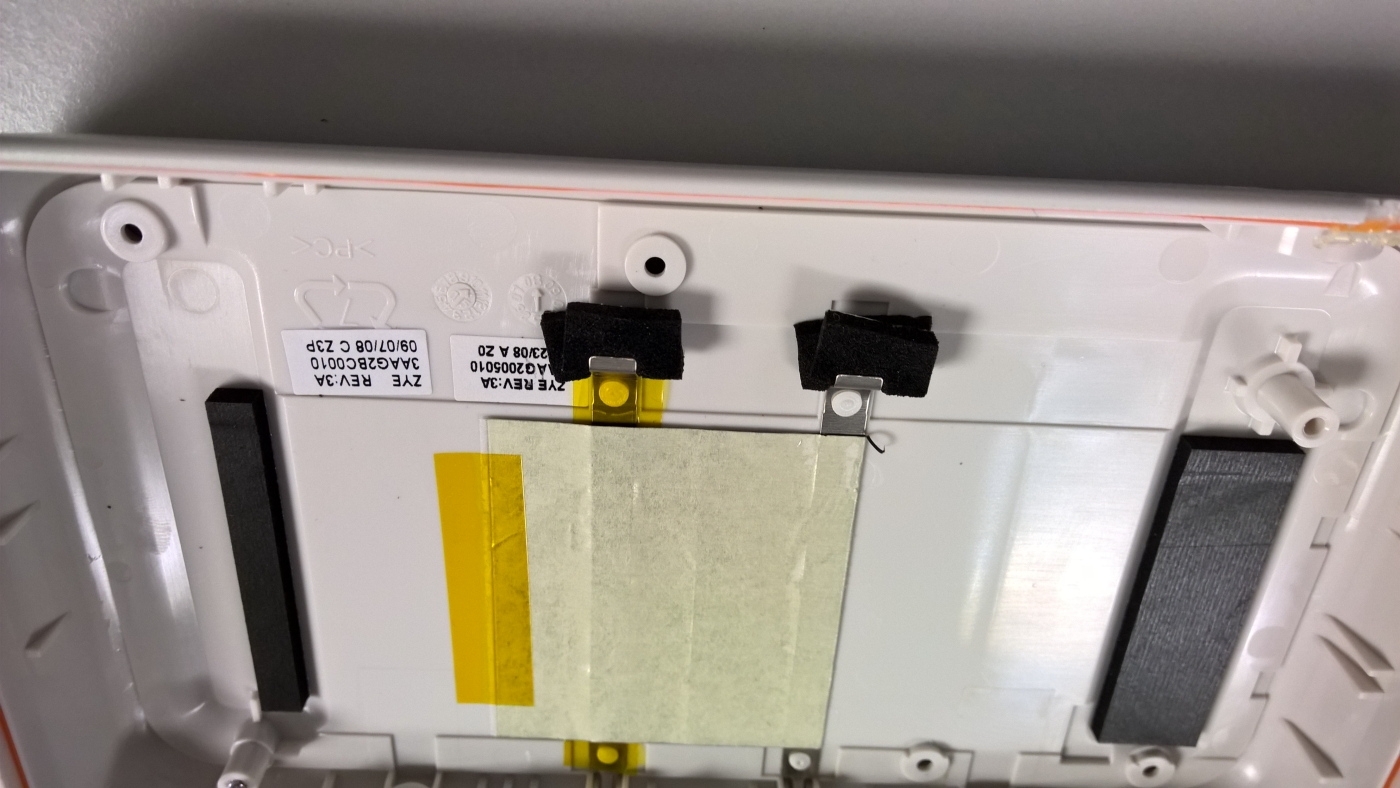
Give the spring clips a helping hand
you'd never know the backing had been off.
Very Happy with the Result, And charging in the cradle as before.
Still love these old Controllers.
The 9 year old Battery was somewhat blown!
New Battery In Place
The lead is a bit longer on the replacement
Give the spring clips a helping hand
you'd never know the backing had been off.
Very Happy with the Result, And charging in the cradle as before.
Still love these old Controllers.
+1
Still love these old Controllers.
My controllers are the same age and I'll probably need to replace batteries soon. Can't think of a better controller for the bathroom and kitchen. Hopefully I'll be able to do as good a job as you've done.
I've removed all the screws in back of controller, but I can't release the front and back portions. Seems to be hanging on around the jack. I've tried a fair amount of force but no success. Any ideas how to release in this area? Thank you
It should be noted that it is not necessary to completely remove the blue rubber cushion. The locations of the screws are very well documented in this write up. I just pealed up the four corners and the area near the screws along the top and bottom.
I have 3 CR100s and two went dead over time so I decided to replace the batteries. On one it worked like a dream (thanks to great info above - just carefully peeling back enough blue rubber to access the screw heads is a key steer - after the repair the rubber just flops back into place and doesn't need any glue) but the second one is still dead. On further investigation I discovered it wouldn't charge even with the power plugged in directly (rather than via the cradle). Any idea what the problem might be and could there be an easy solution? Power is getting into the unit (elements on the circuit board get hot) it's just the battery wont charge (nor does the charge light come on)?
I know this is really old, but rather than peeling off the blue backing, I just stick the little screwdriver through the blue backing at the screw points. You can see them through the blue and is very easy to do. This way there is no issue of restocking the blue backing on and/or damaging it during removal. Anyway, wanted to pass that along.
Also note that if you buy an older CR100 that has been sitting for a long time with no upgrades, then you may need to go to a Tier 2 support at Sonos. The new security "locks them out" from the network and Sonos has to disable the security on a singe device, connect and update the CR100, and then re-enable the security.
Good luck
Ditto, but Sonos support in Australia were extremely helpful. Amazing how this old hardware just keeps on keeping on!
Just applied these instructions successfully now, thanks so much! My only caveat is that the screws are very tight, and very fussy about having the right mini cross head screwdriver: despite my having what I thought was a decent selection, none of mine seemed to be a good fit, resulting in one stripped screw which I then had to go at with a drill and a screw remover (!). All appears good now though, touch wood. Am very curious to see what the new batteries are like since I assume they've been on the shelf for the best part of a decade...
Also worth checking if you're having charging problems: one of my cradles just doesn't seem to work; will have to see if I can apply the same techniques to getting inside it to see whether it has a similar sprung metal assembly to that inside the CR100.
Page 3 / 3
Enter your E-mail address. We'll send you an e-mail with instructions to reset your password.