

Setting up a Synology NAS for music library access
This article provides information for when your music library is unable to be added from a Synology NAS drive. The following instructions will ensure your NAS drive is correctly set up to allow access to your music.
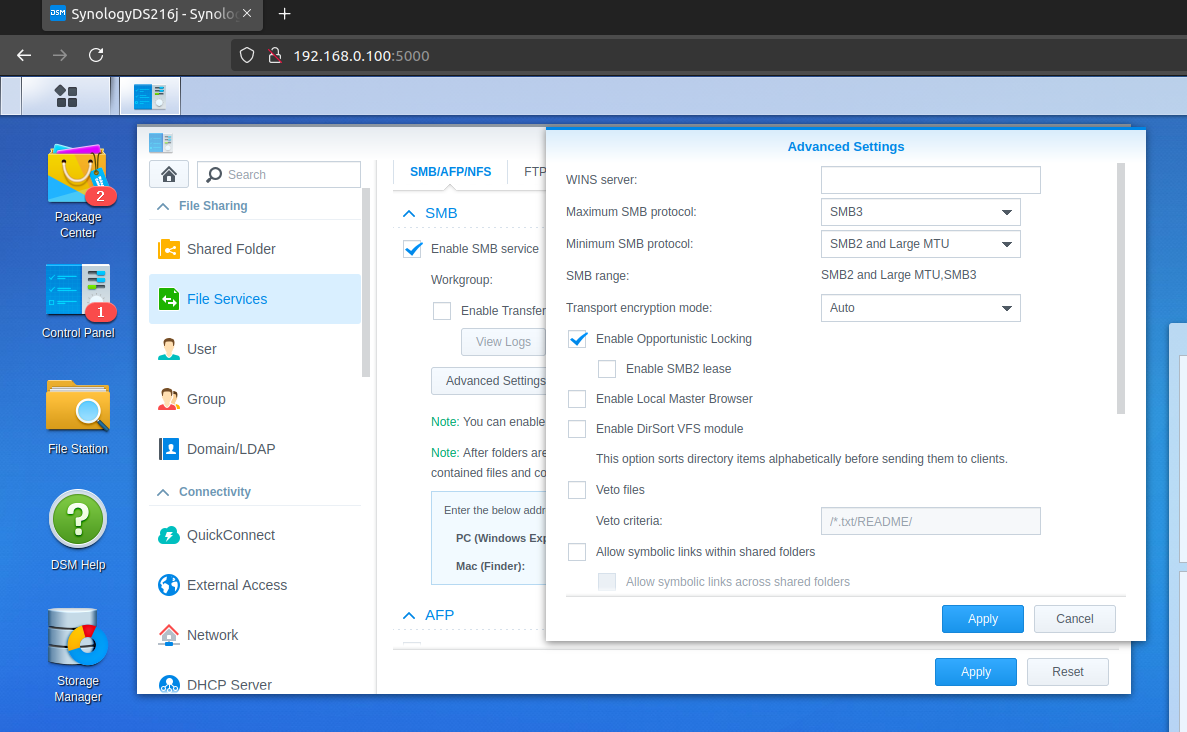
Step 1 - Check for correct SMB version (SMB2/SMB3)
- Within the NAS drive's interface, select Control Panel.
- Select File Services.
- Select the SMB/AFP/NFS tab (depending on the NAS firmware, SMB is located on an individual tab).
- Select the Advanced Settings button.
- Make sure the Minimum and Maximum is at least SMB 2 or higher.
Step 2 - Obtain the device name of the NAS
- Select Control Panel.
- Select Network.
- In the General section look at the field that is labeled 'Server Name'.

- Take note of the server name. This will be the first part of the path that will be needed to connect to the share.
- EXAMPLE: \\SynologyDS216j
Step 3 - Obtain the share name on the NAS
- Click on Control Panel.
- Click on Shared Folder.
- View the list of shared folders and determine which folder the music is located in.

- Take note of the share name. This will be the second part of the path that will be needed to connect to the share.
- EXAMPLE: The share name is 'VariousMusic' and the full share path will be:
- \\SynologyDS216j\VariousMusic
- EXAMPLE: The share name is 'VariousMusic' and the full share path will be:
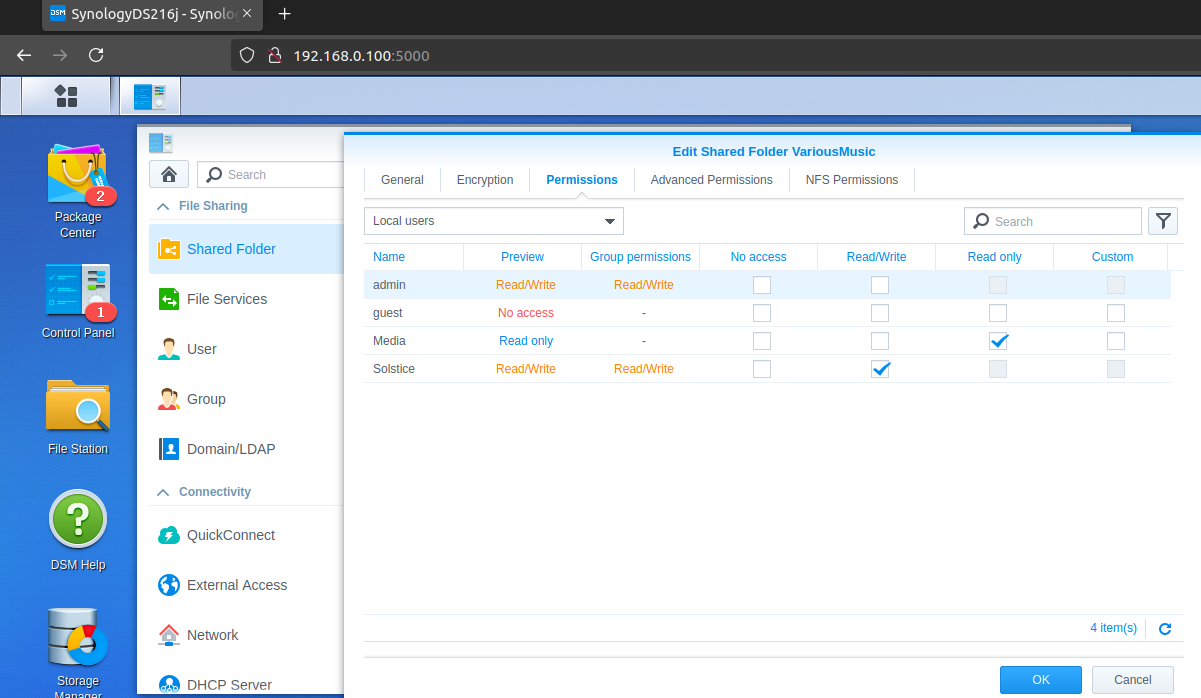
Step 4 - Check the NAS user has proper permissions to the share
- Click on Control Panel.
- Click on Shared Folder.
- Select the Permissions tab.
- Make sure the proper NAS user has the correct access to the shared folder (depending on the NAS firmware, you may need to select the Edit button to set the permissions). Both "Read/Write" and "Read Only" will allow the content to be accessed.
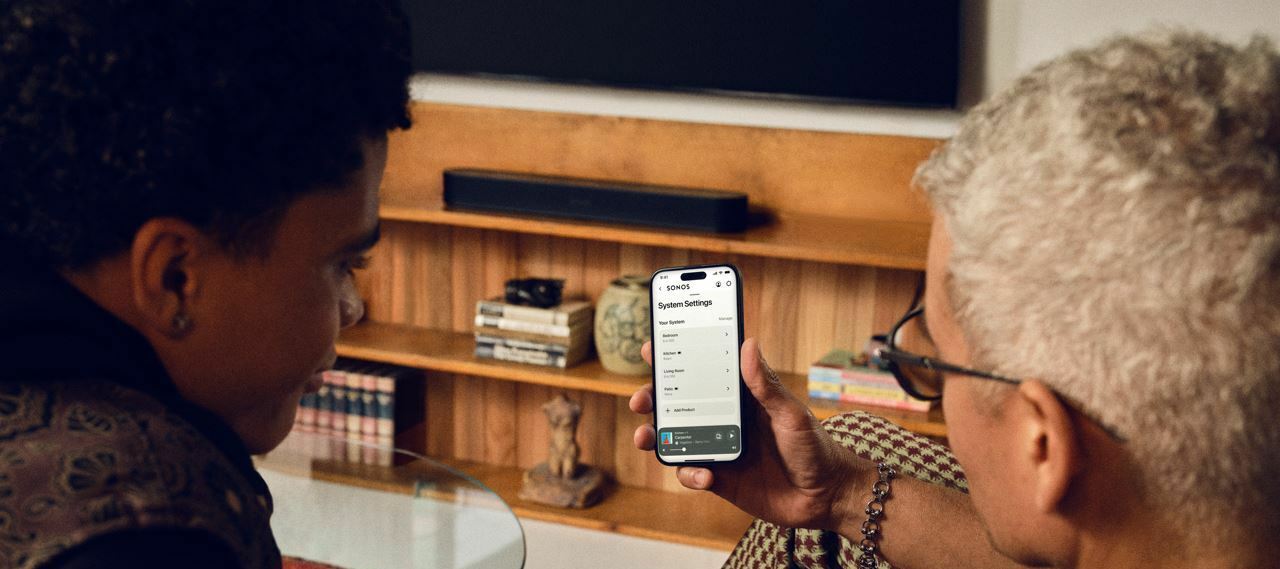
Step 5 - Adding the share to Sonos
- With the information you obtained from the customer's NAS as instructed above, follow the steps on the Using a NAS drive with Sonos article add the share to Sonos.
- In this example the share is \\SynologyDS216j\VariousMusic.
Need more information about using your music library with Sonos? Then have a look here.