Hi Everyone
Just want to share an Era 100 mounting project using the Sonos Era 100 Wall Mounts that is not the norm. I use my garage a lot and like to have music playing. For perspective it’s a three (3) car garage with a concrete rear wall (which is where the speakers are mounted). I didn’t want to drill holes in the concrete and cause a crack (or cracks) as it’s a retaining wall that’s under ground.
The project requires selecting a bonding agent that will bond wood to concrete or similar surface. I chose Liquid Nails Fuze*It Max construction grade adhesive. I allowed 48 hours curing time to achieve the strongest bond. After curing, the bond is rated to hold to over 64 lbs (29 kg) of attached weight. Click the links (Manufacturer Specs and Independent Review) for more information.
FYI, the picture was taken on top of my riding mower. Another vehicle in my garage 😂
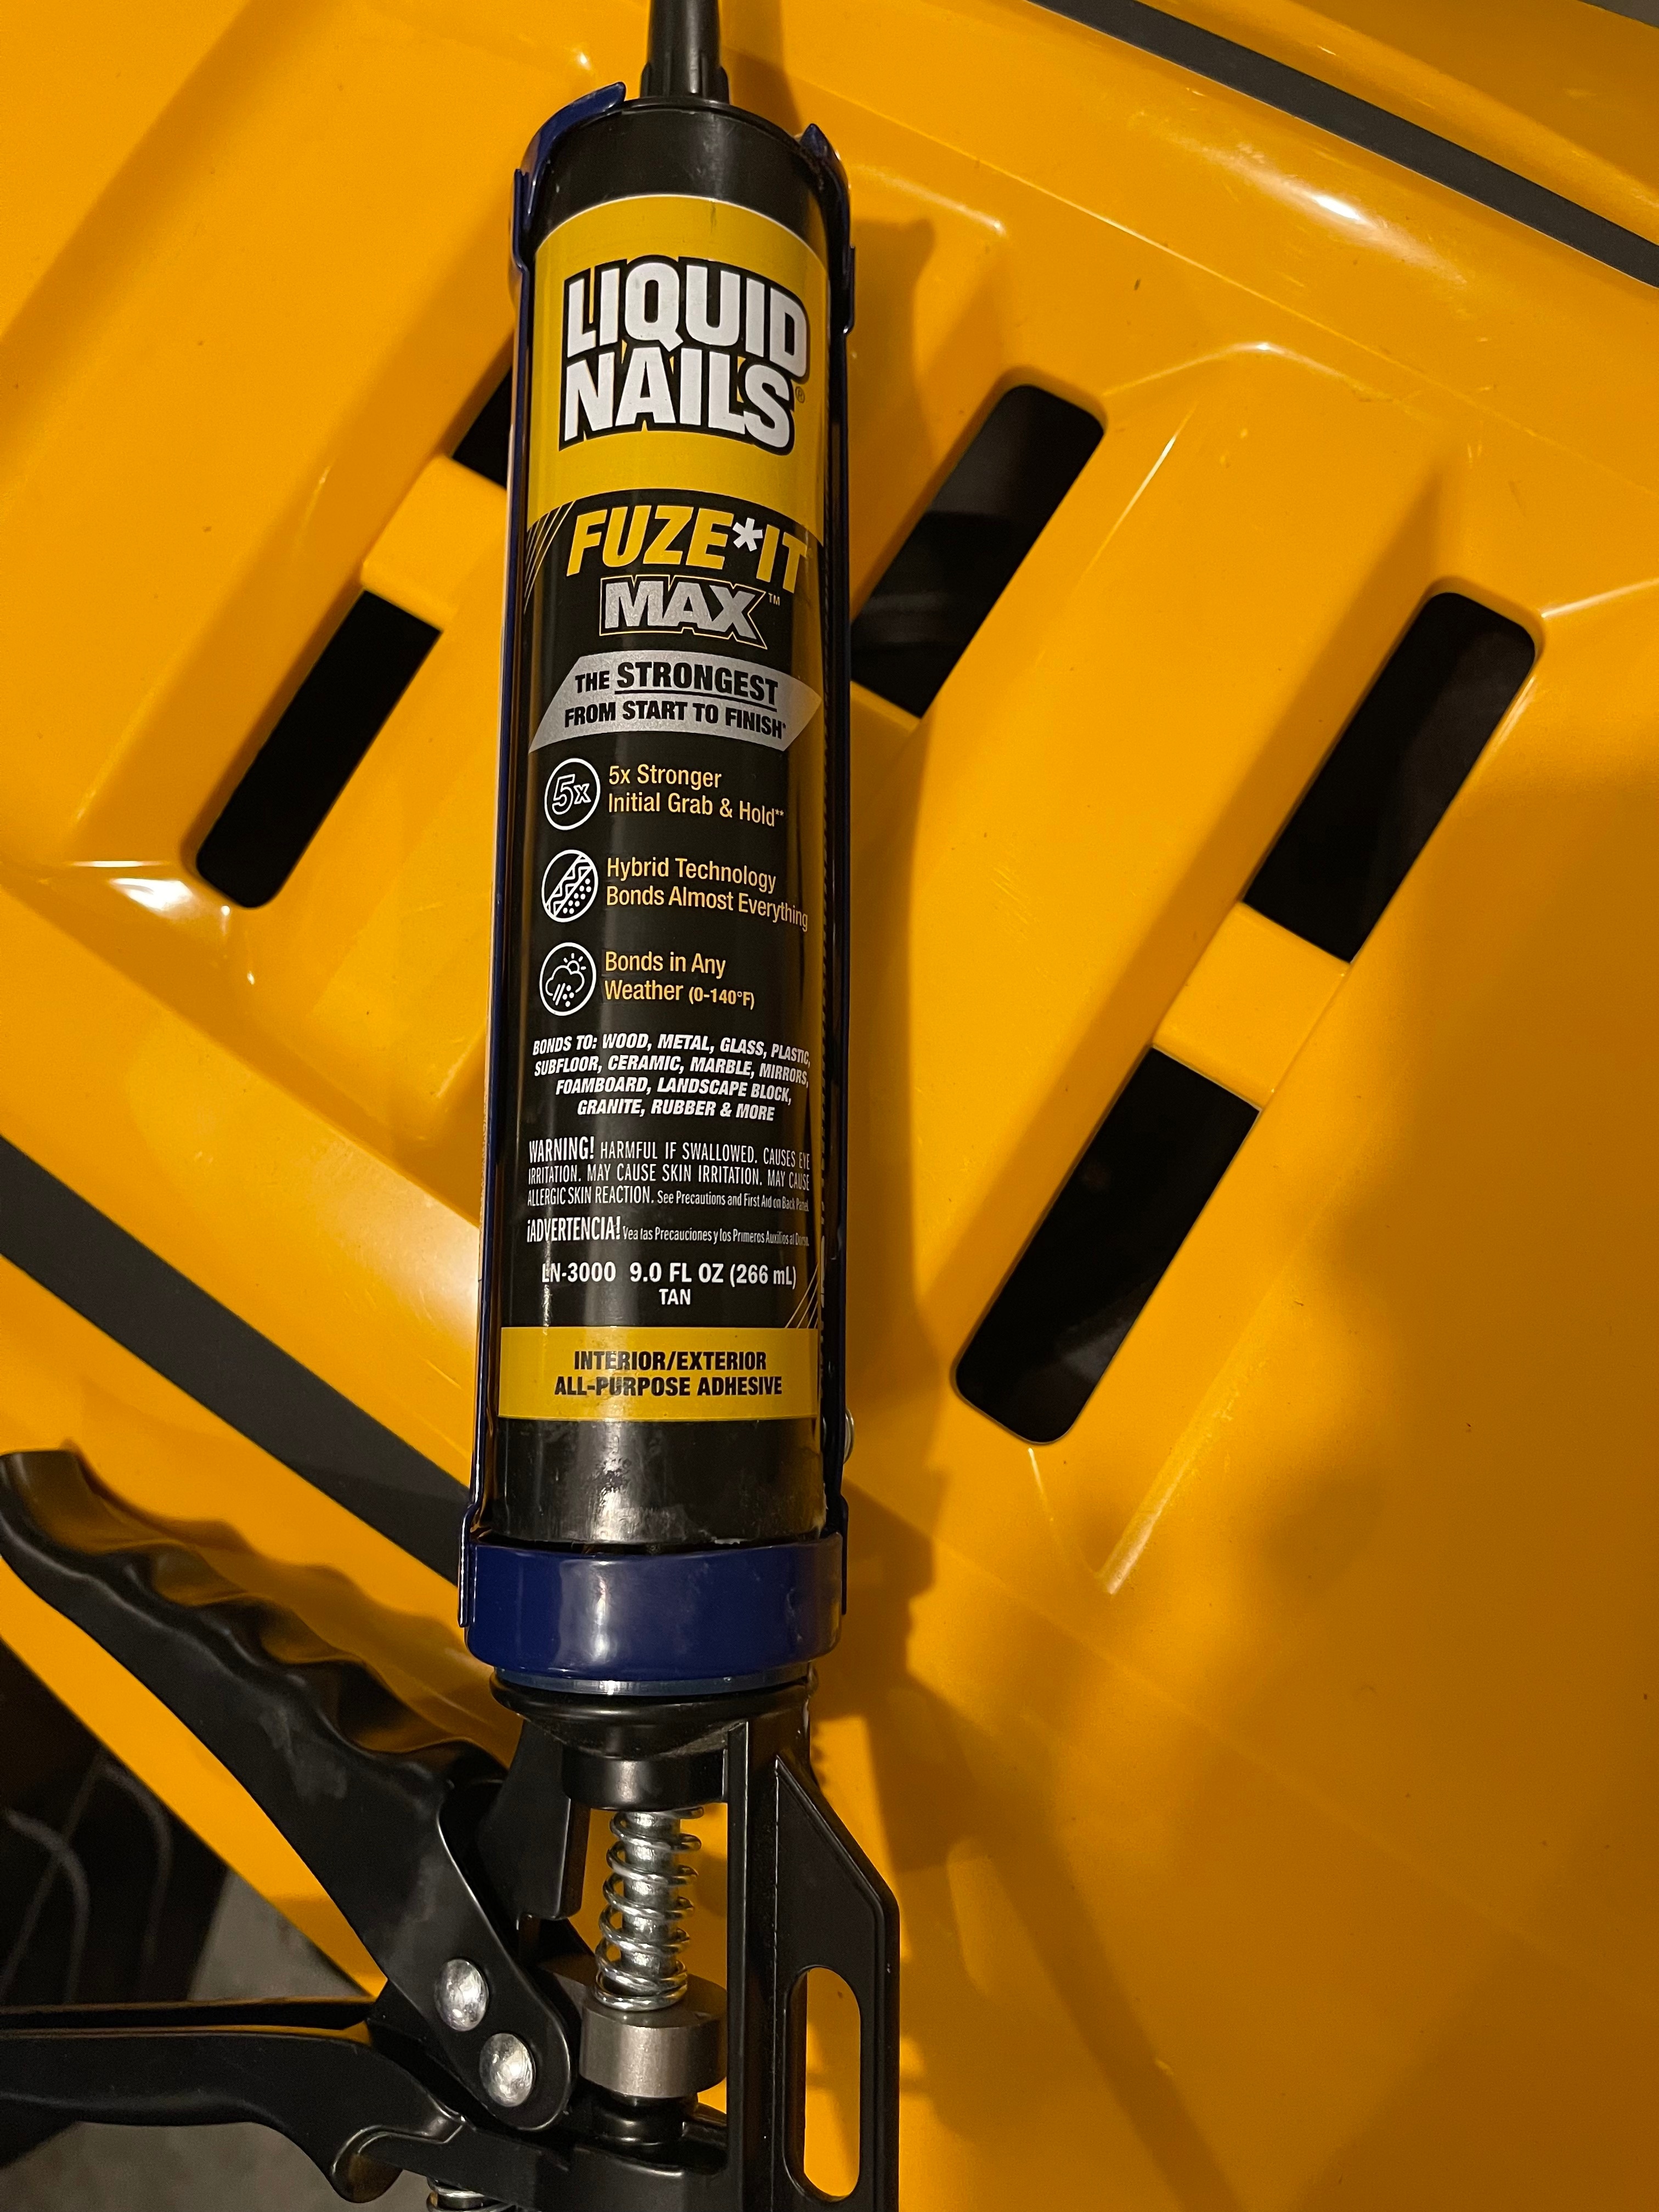
Manufacturer Specs
https://www.liquidnails.com/how-to/5-reasons-to-use-a-high-quality-drywall-adhesive
Independent Review
https://www.familyhandyman.com/list/ultimate-construction-adhesive-test/
What follows are captioned pictures of the project
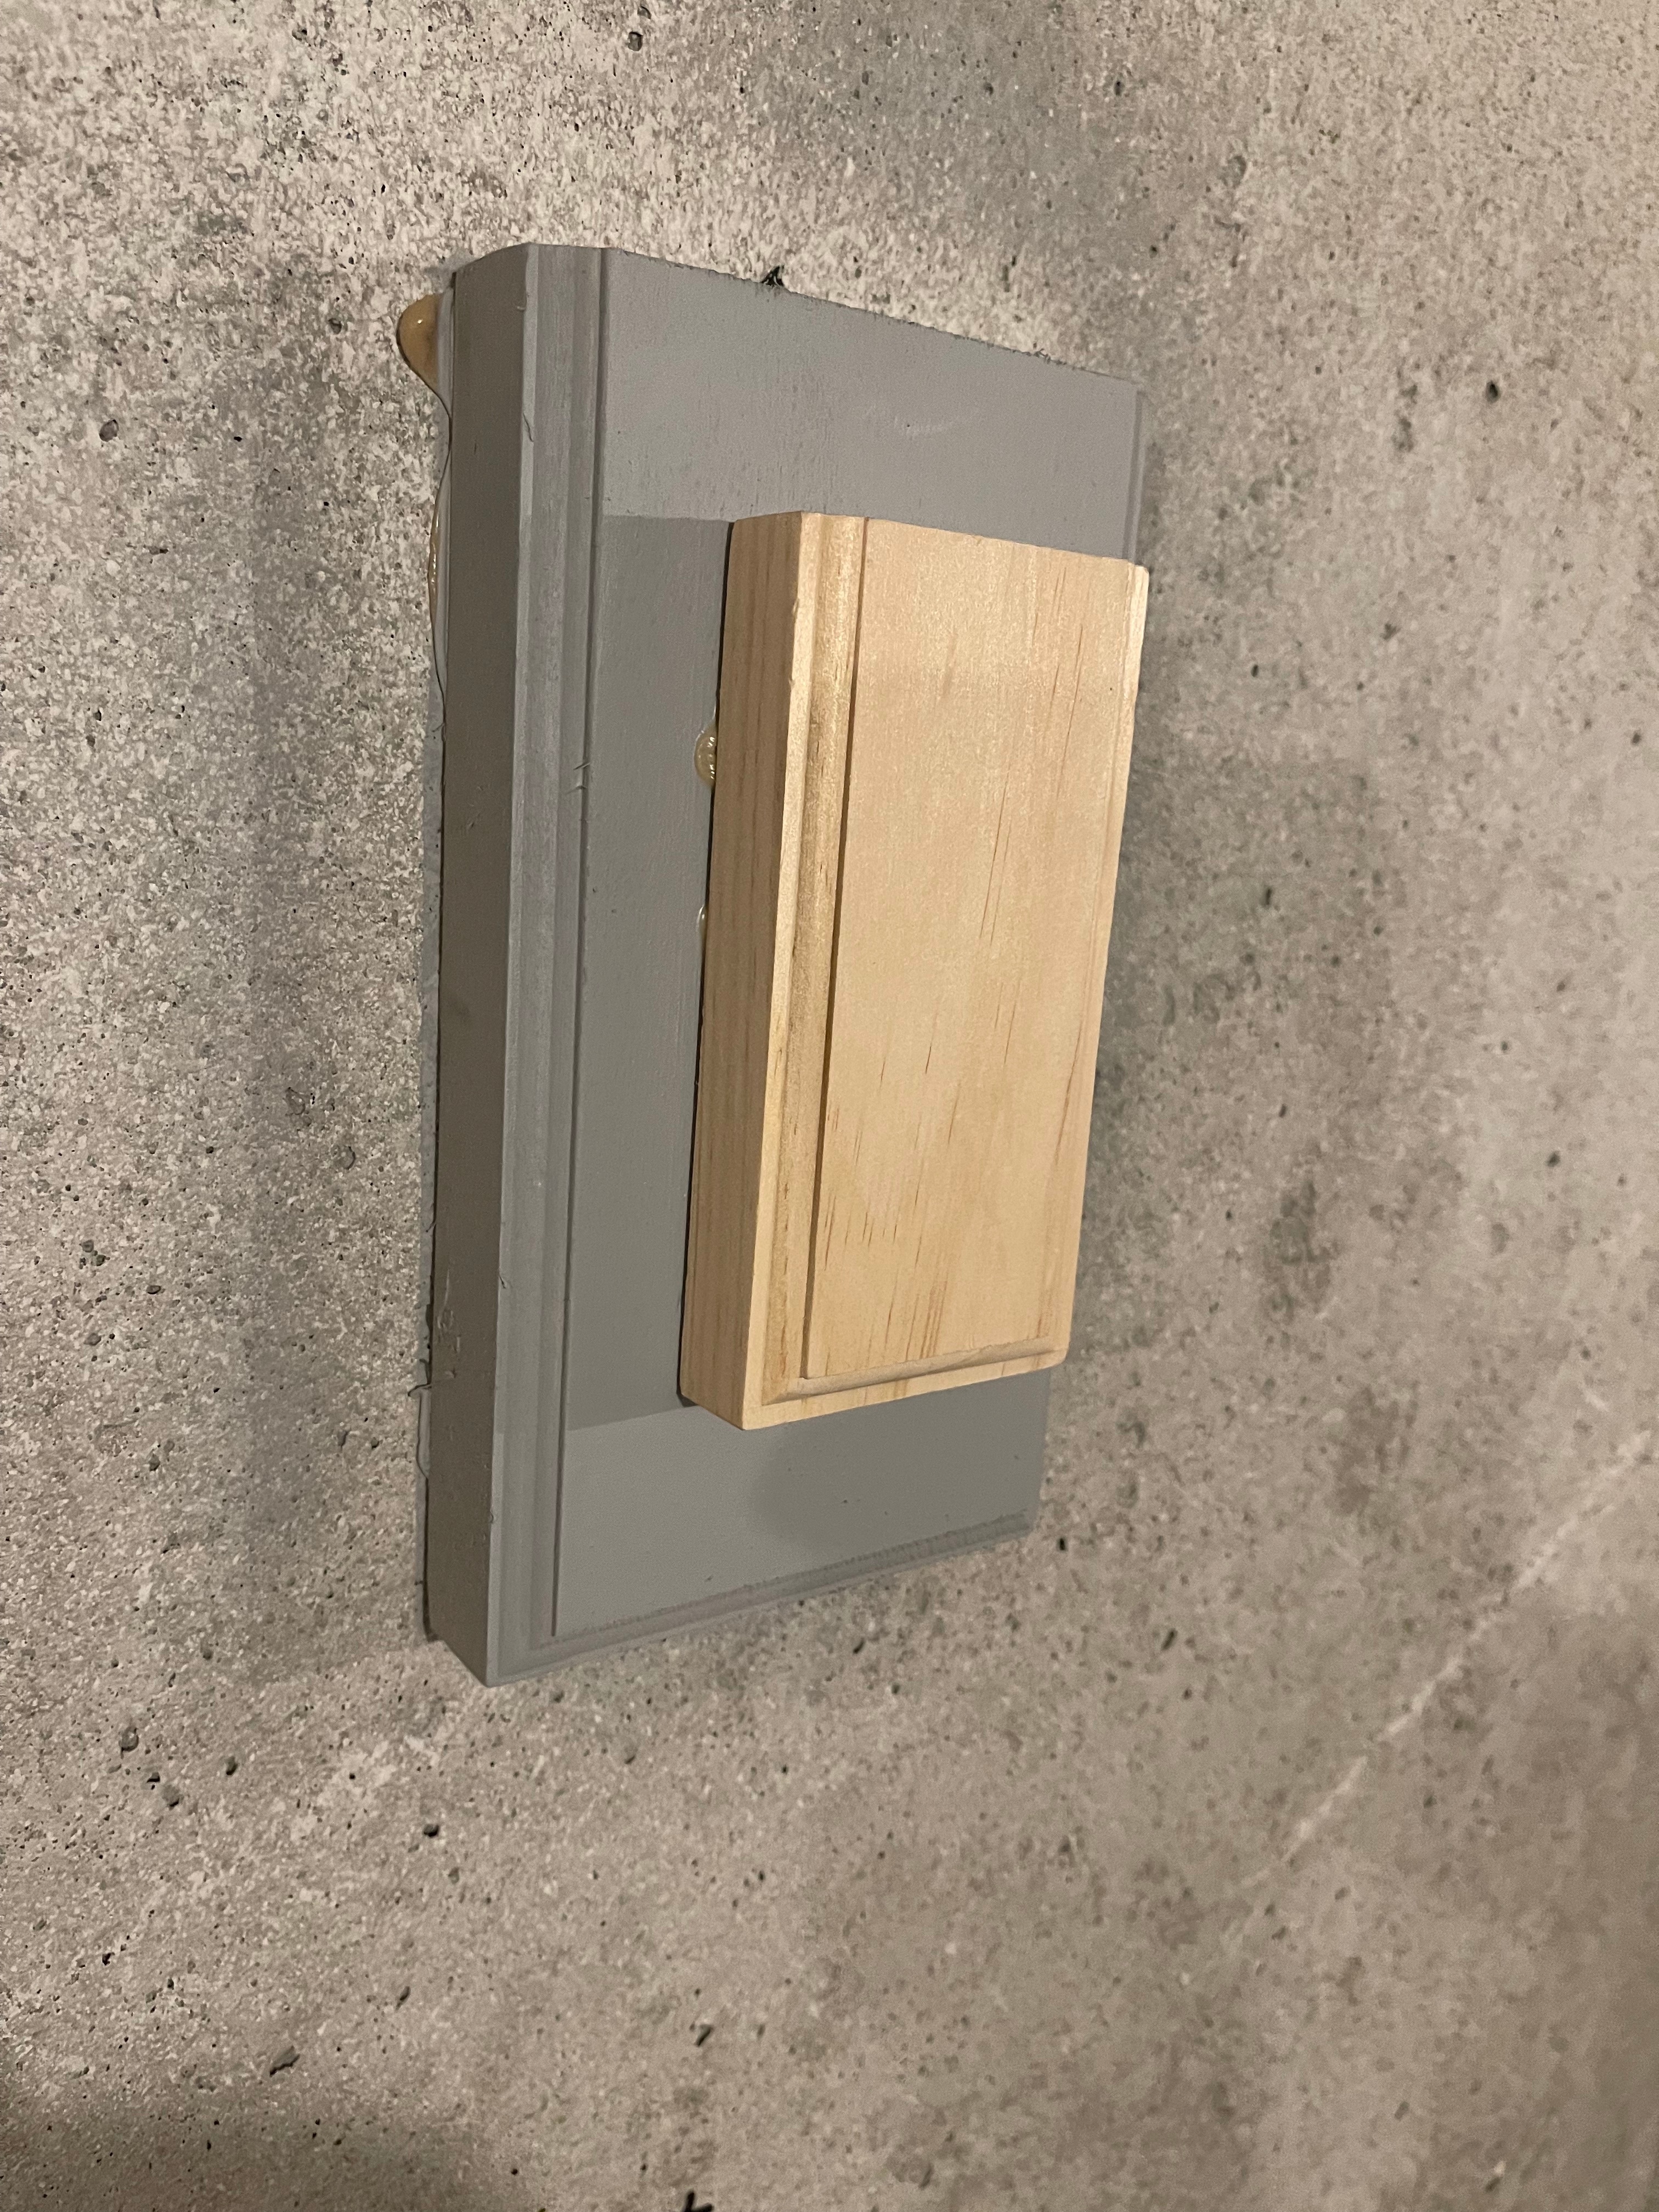
The supplied mounting screws are 1.5 in (3.81 cm) in length. As you can see it required an initial mounting block with a secondary block on top to provide enough wood for screw penetration and not hit concrete. Liquid Nails Fuze*It Max was used in both bonding applications.
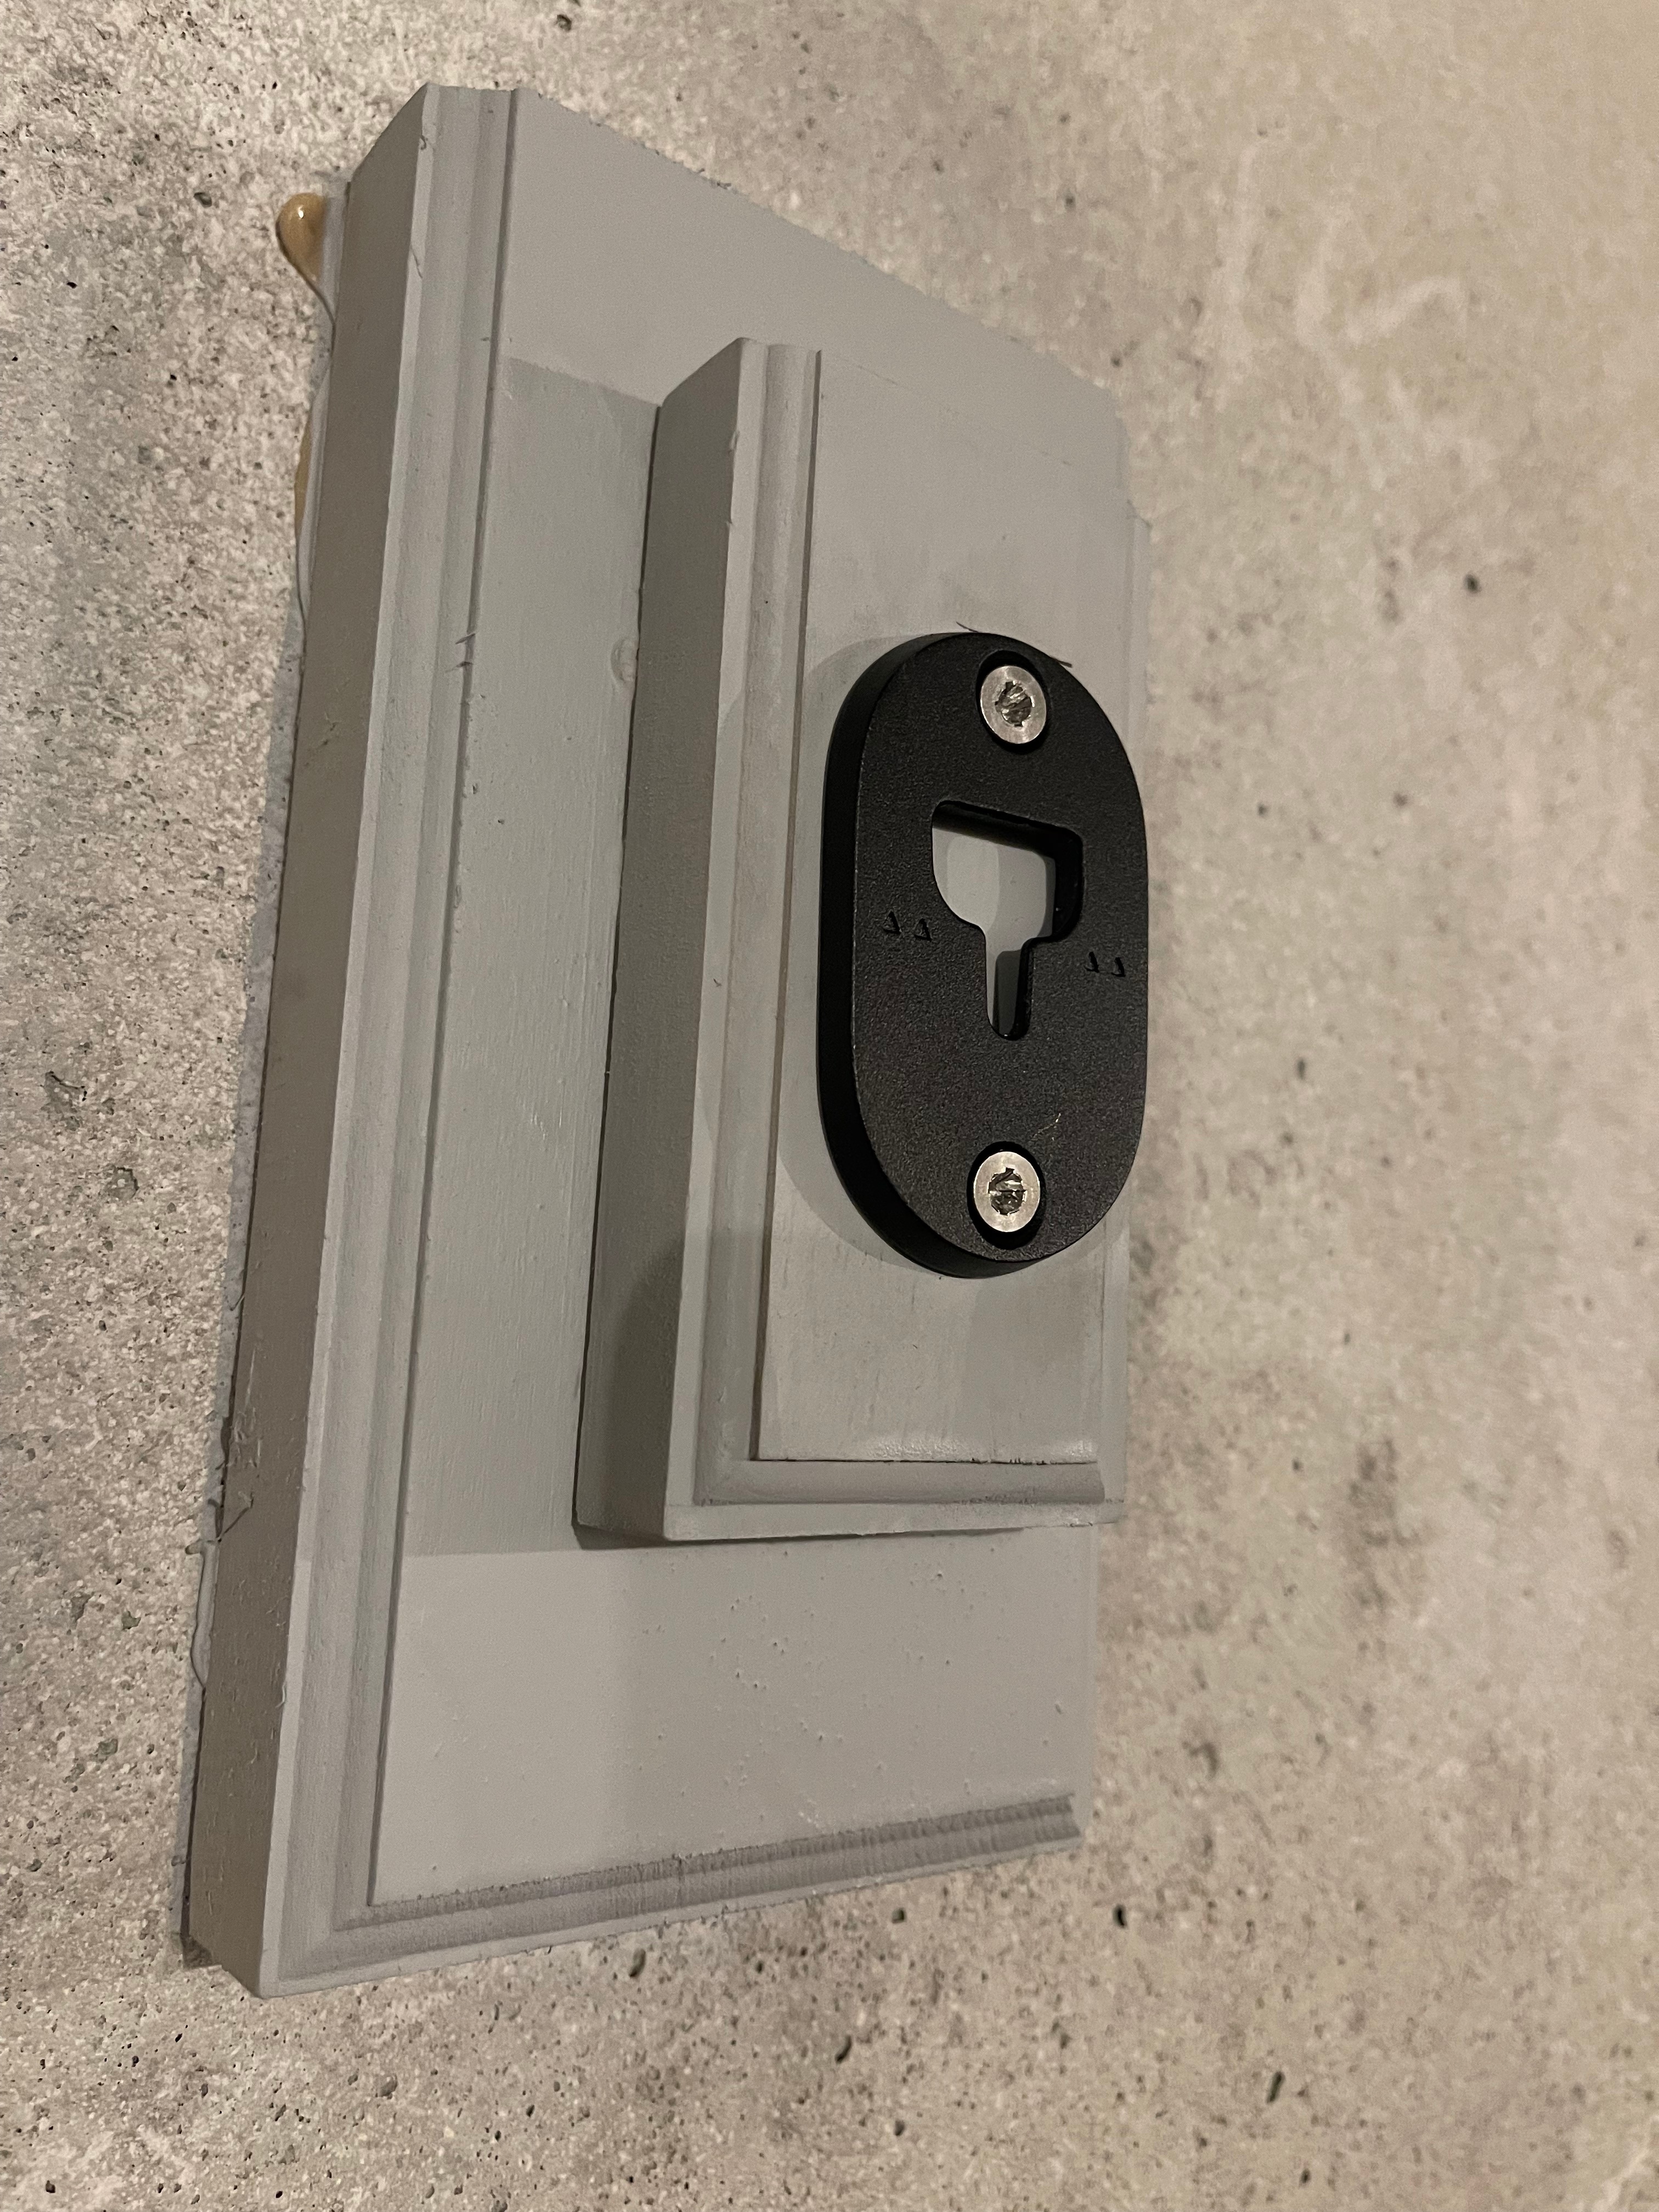
Mounting bracket attached.
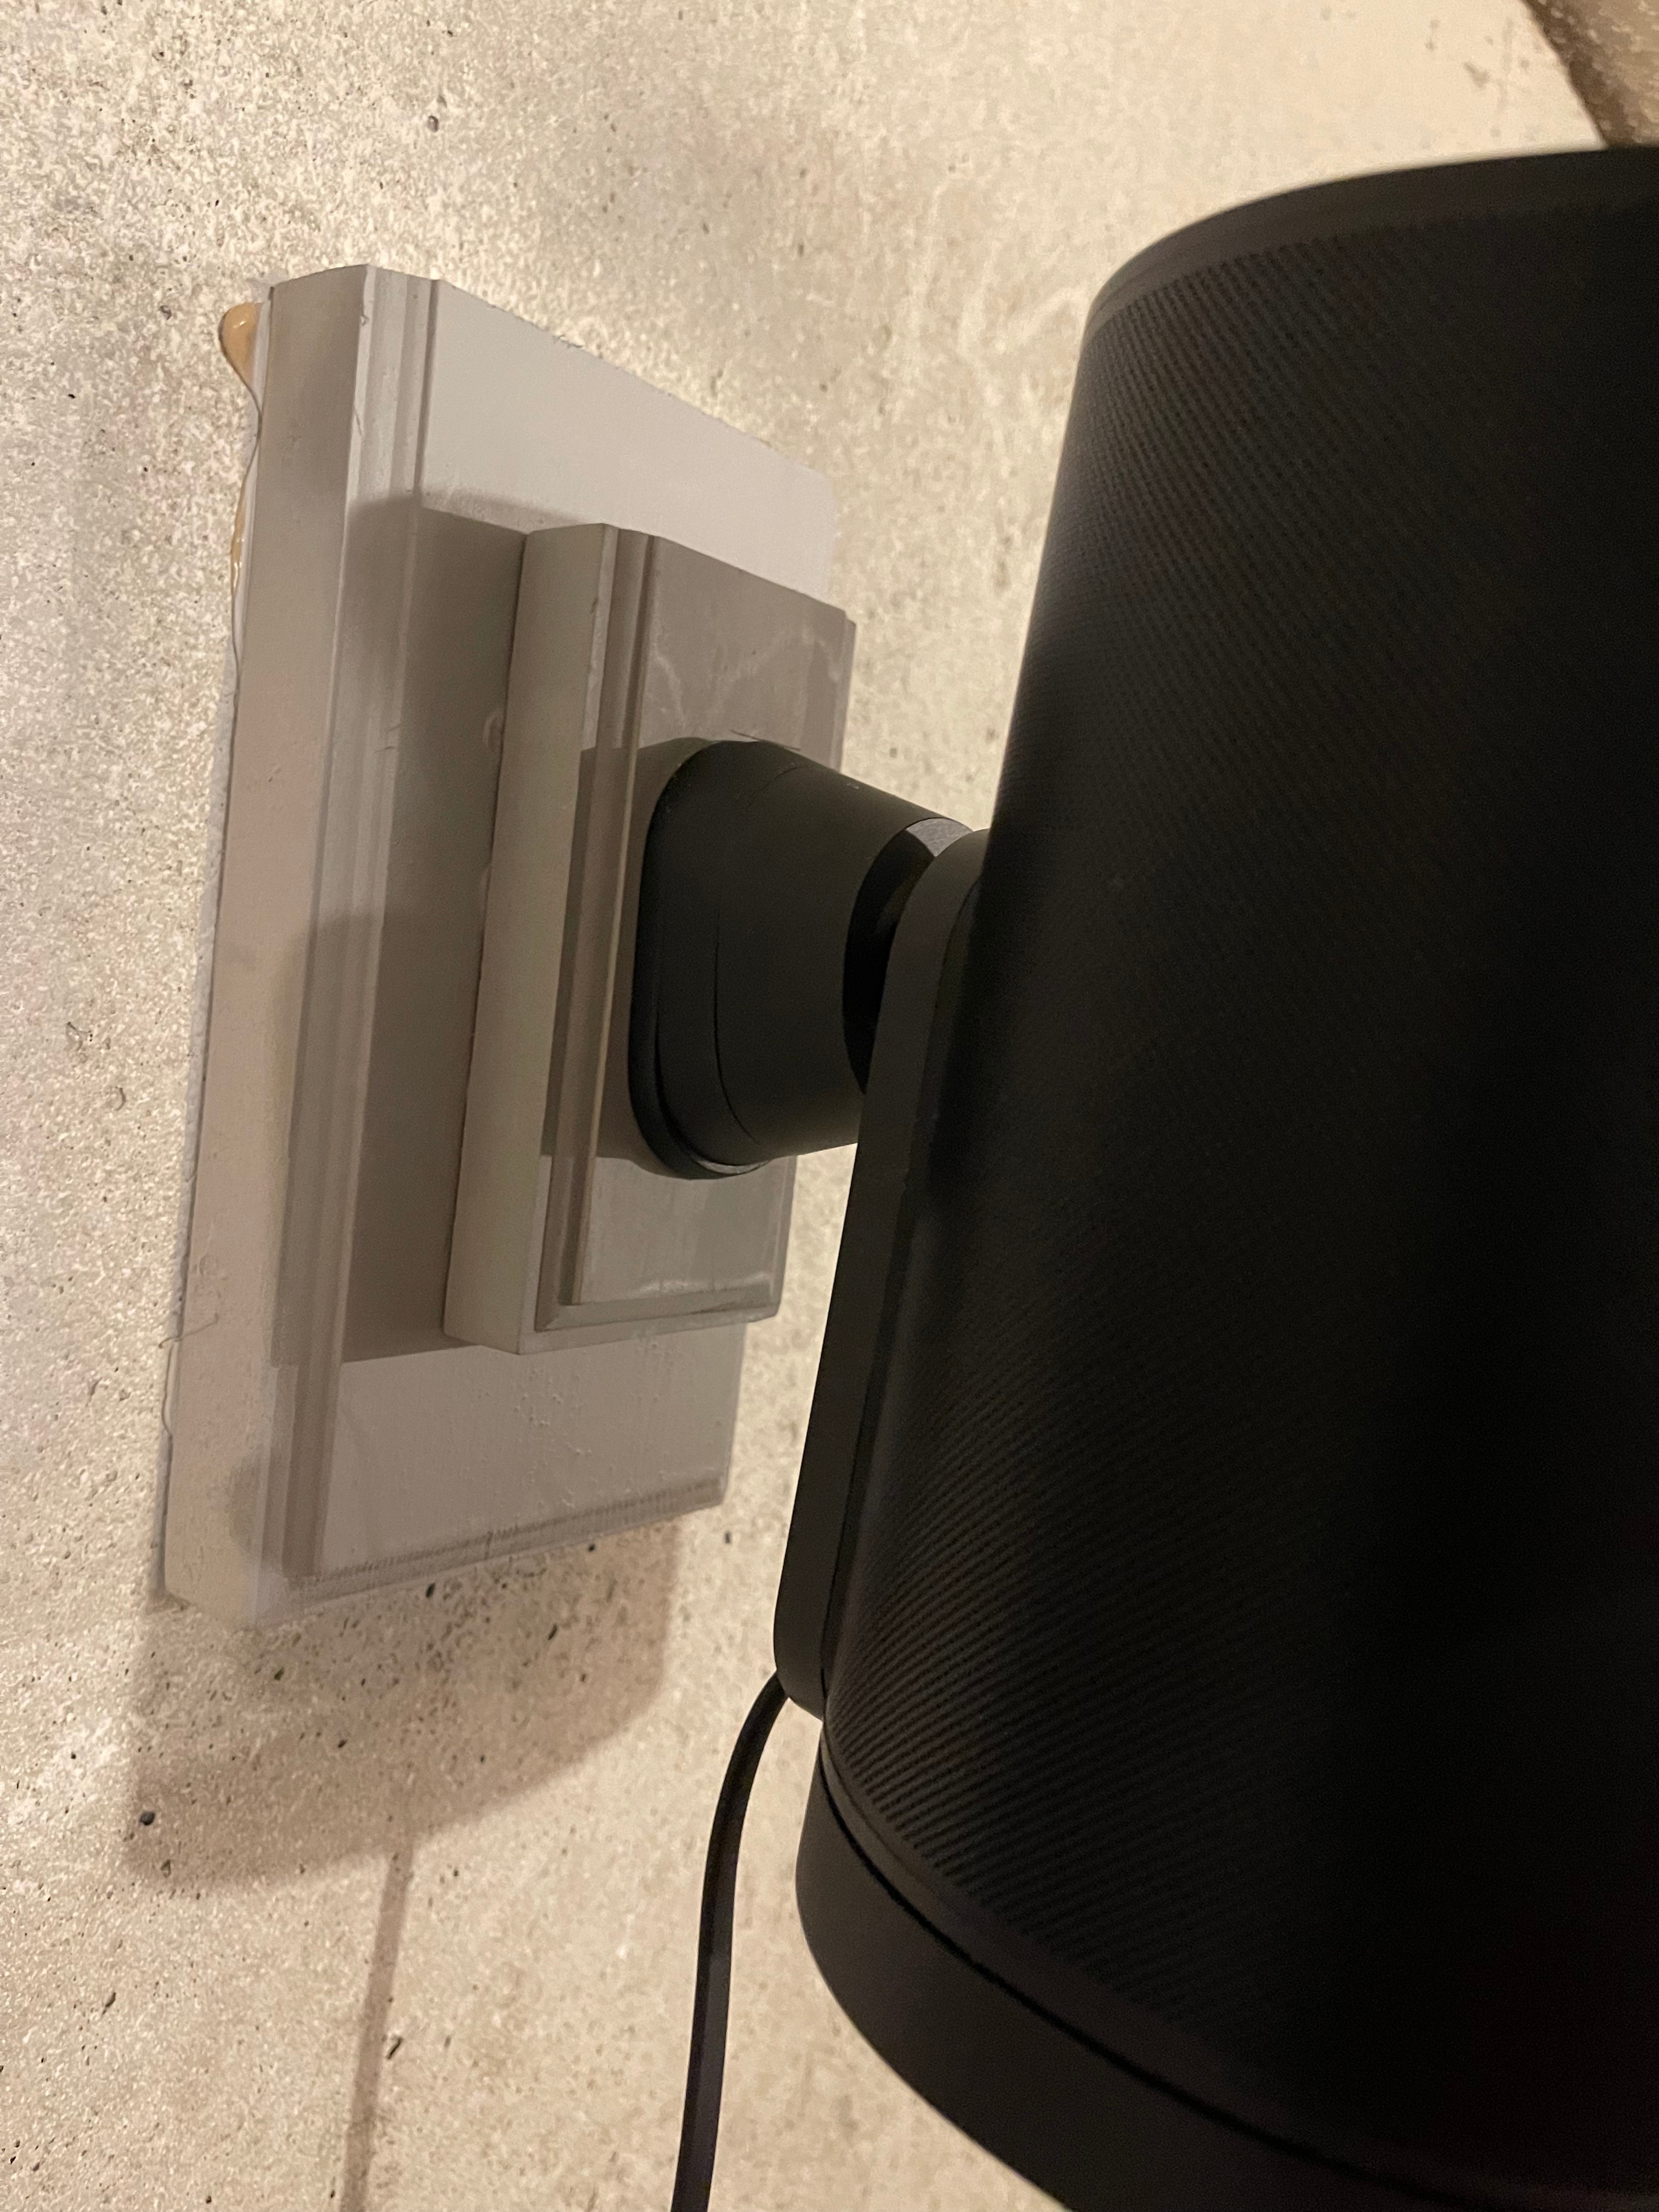
Speaker Mounted_Side View
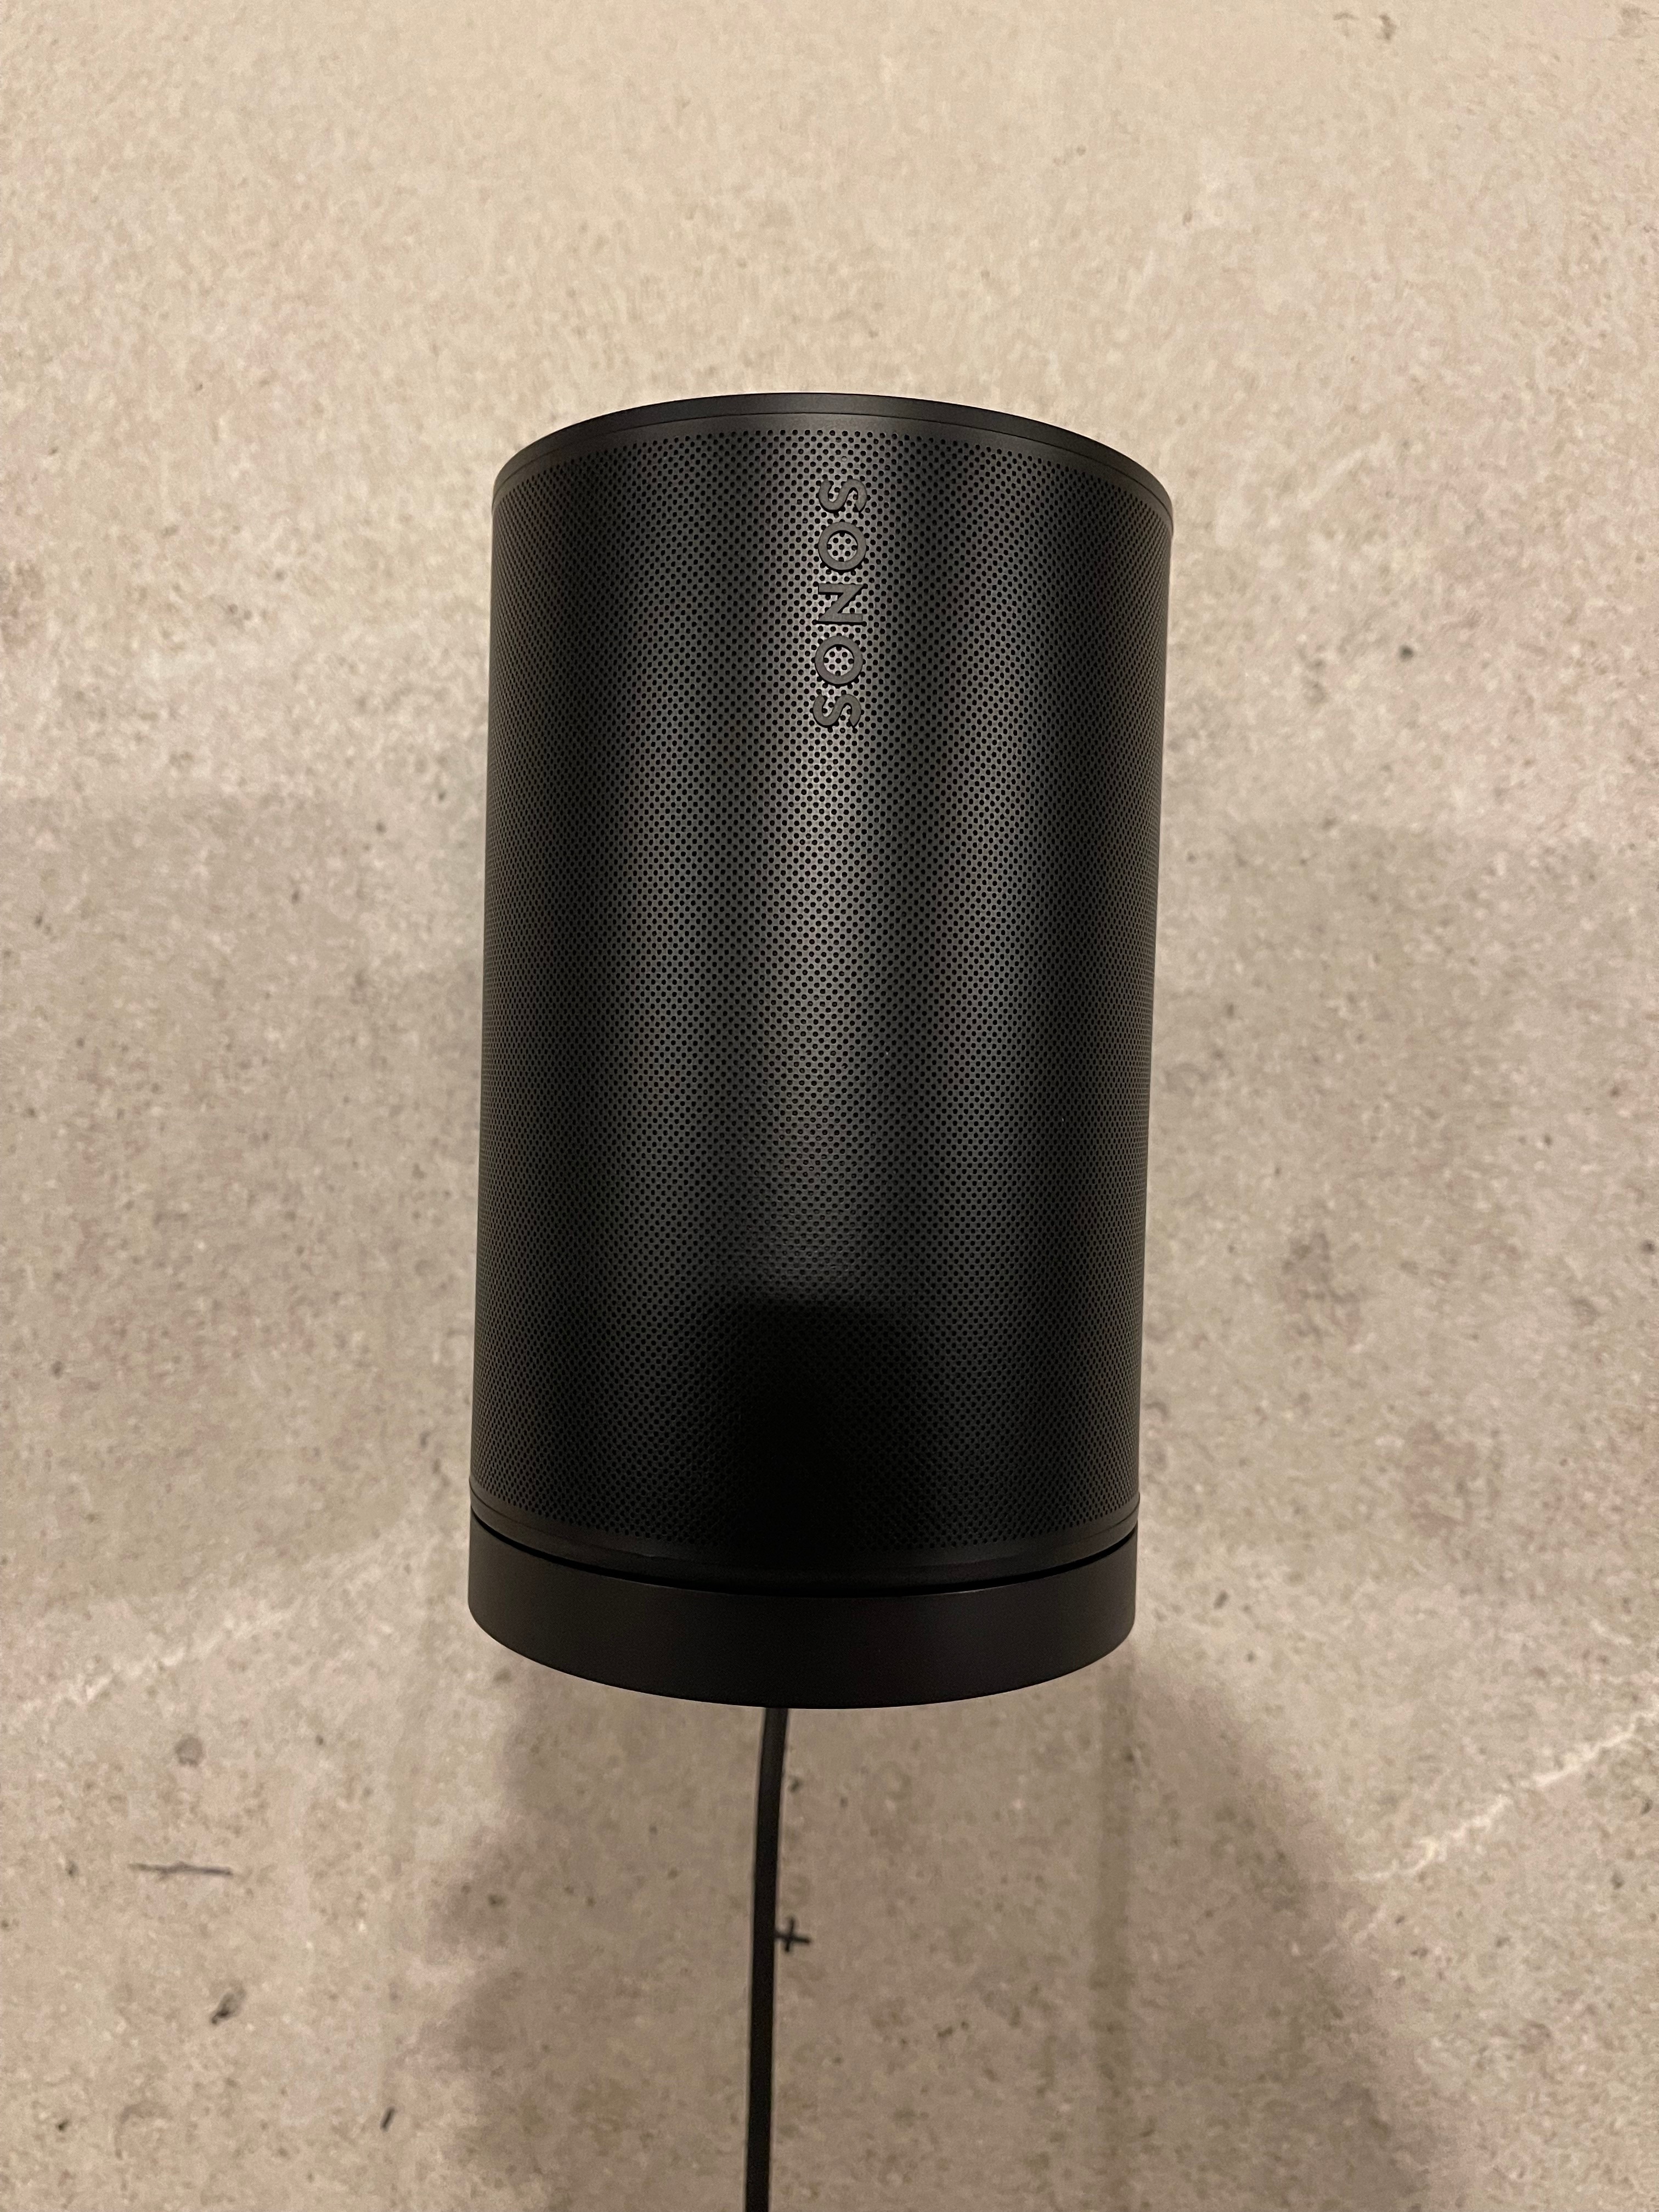
Speaker Mounted_Front View
The next pictures show both speakers mounted and other information you might find useful. As this is my garage I ordered a black and white Era 100 (not concerned about color match). I ordered black mounts as a pair. Ordering mounts singularly (by color) would have taken too long to receive. FYI, I think the white speaker on a black mount looks quite appealing 😊
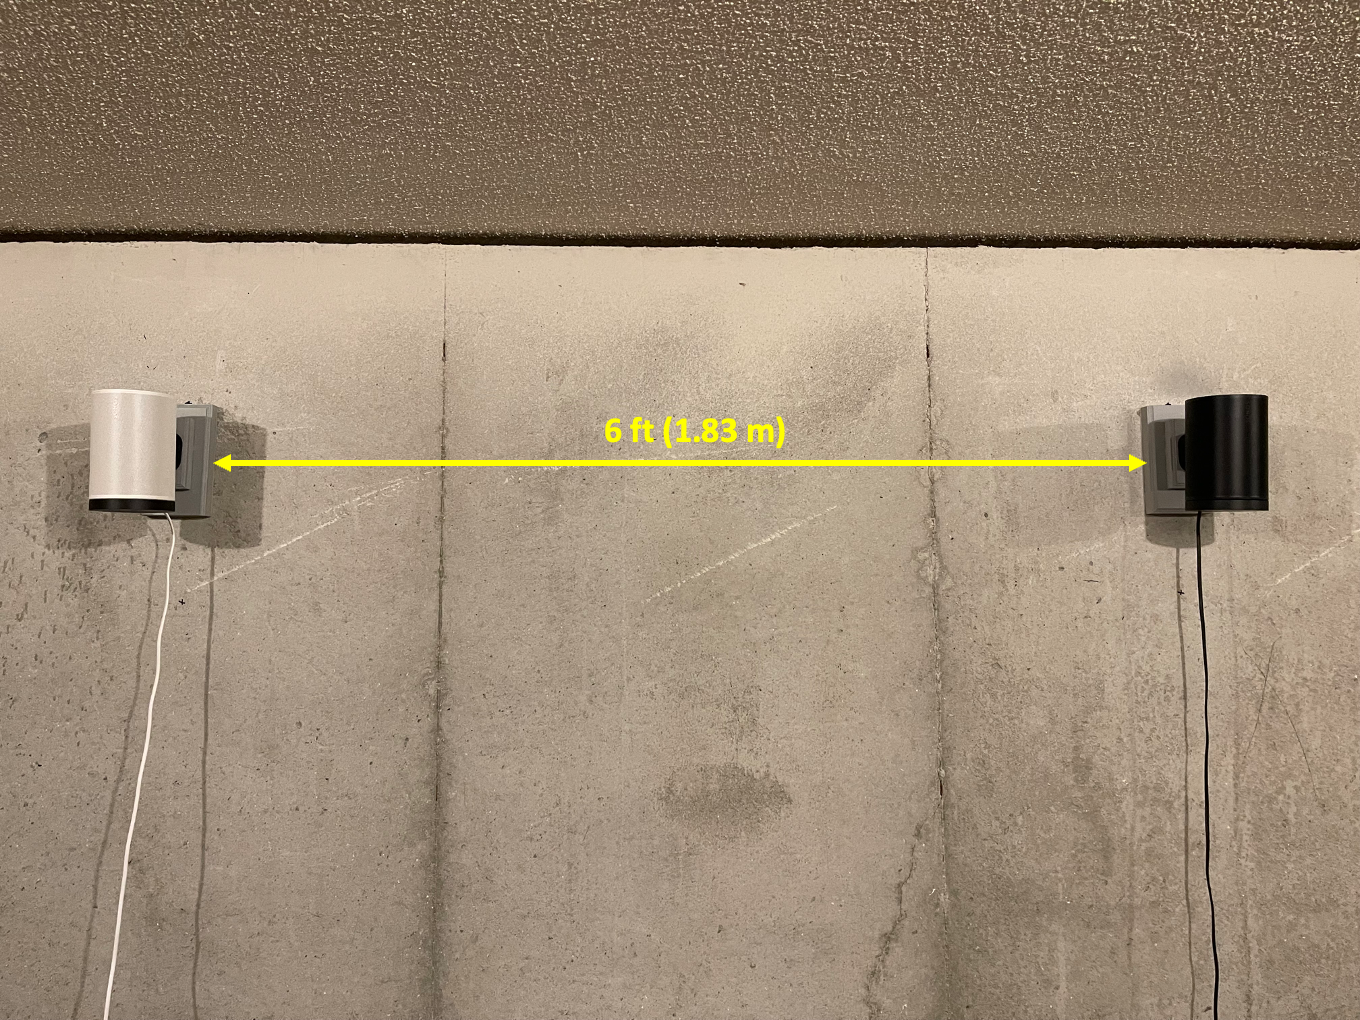
Speaker Distance
The next picture explains other information you might find useful
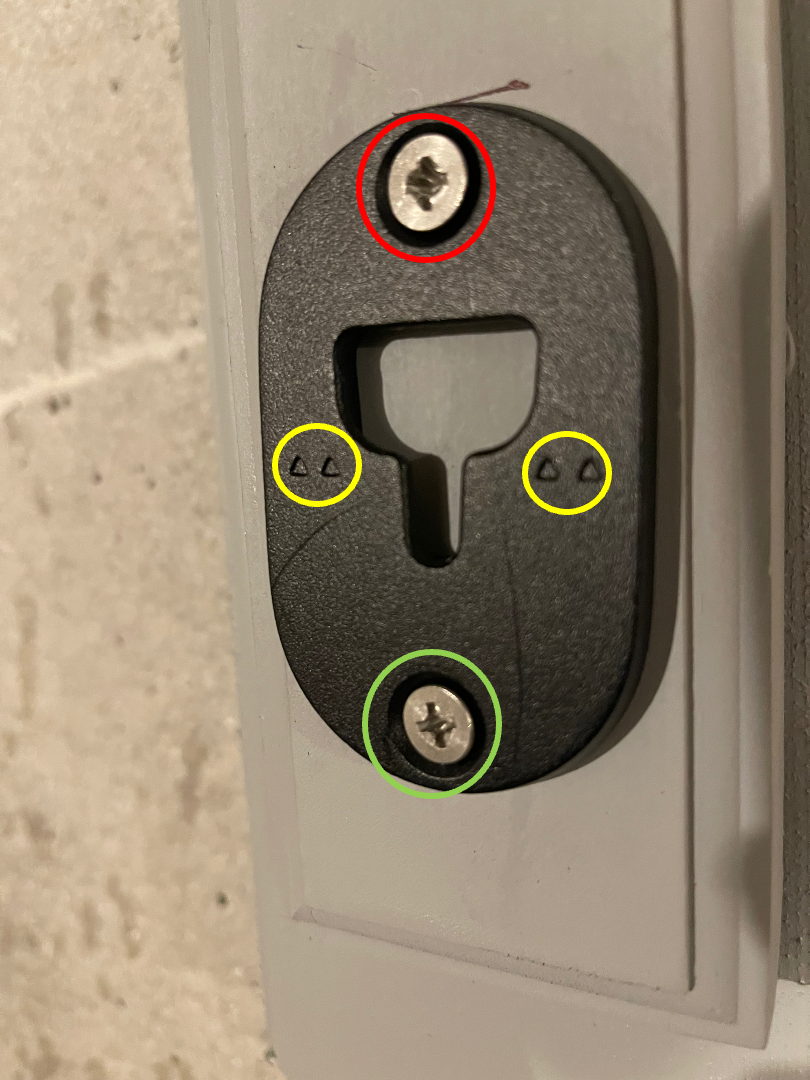
The YELLOW circles show the orientation guides for mounting the brackets.
The screws provided (with the mounts) are a soft metal. If the wood used is fabricated or studs in-wall have cured for a long time it will be harder to drill a pilot hole. Even after drilling a pilot hole using my power drill (in short bursts) chewed-up the screw guides.
The RED circle shows the screw guide that was damaged by my drill.
To remedy the situation I purchased screws made of Stainless Steel (shown in the GREEN circle) which is a harder metal.
If you are drilling into new construction studs the wood will be more plyable; thus possibly not requiring a screw made of a harder metal.
Well that’s all. I hope you found this information useful. BTW, I installed a Sub Mini as well. Enjoy your Sonos!
Disclaimer: The presentation/mention of Liquid Nails Fuze*It Max in this post is not an endorsement as to its effectiveness as an adhesive as advertised by the manufacturer or those put forth by 3rd parties. The author of this post assumes no responsibility regarding its use pertaining to its effectiveness or failure. Use of Liquid Nails Fuze*It Max is done at your own risk.

